TopPodcast.com
Menu
  • Home
  • Top Charts
  • Top Networks
  • Top Apps
  • Top Independents
  • Top Podfluencers
  • Top Picks
    • Top Business Podcasts
    • Top True Crime Podcasts
    • Top Finance Podcasts
    • Top Comedy Podcasts
    • Top Music Podcasts
    • Top Womens Podcasts
    • Top Kids Podcasts
    • Top Sports Podcasts
    • Top News Podcasts
    • Top Tech Podcasts
    • Top Crypto Podcasts
    • Top Entrepreneurial Podcasts
    • Top Fantasy Sports Podcasts
    • Top Political Podcasts
    • Top Science Podcasts
    • Top Self Help Podcasts
    • Top Sports Betting Podcasts
    • Top Stocks Podcasts
  • Podcast News
  • About Us
  • Podcast Advertising
  • Contact
Not in our directory?
Add Show Here
Podcast Equipment
Center

toppodcastlogoOur TOPPODCAST Picks

  • Comedy
  • Crypto
  • Sports
  • News
  • Politics
  • True Crime
  • Business
  • Finance

Follow Us

toppodcastlogoStay Connected

    View Top 200 Chart
    Back to Rankings Page
    Games & Hobbies

    Matt’s Basement Workshop Video Feed

    This is the video only feed for Matt’s Basement Workshop Podcast. If you prefer to watch your woodworking content this is the feed for you!

    Advertise
    • Apple Podcasts
    • Google Play
    • Spotify

    Latest Episodes:
    548 Samantha's Brunch Table "Woodworking with spouses" Jun 16, 2015
    Show notes

    It's pretty much next to "NEVER" when Samantha wants to work on a woodworking project with me.
    So when she asks about us building a large table together I didn't quite jump at the chance at first, I kind of carefully asked some probing questions before I agreed to anything.

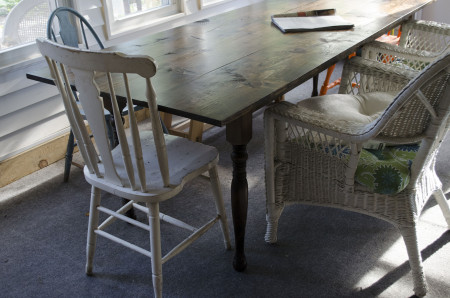
    Samantha's Brunch Table
    Don't get me wrong, if you have a spouse that enjoys working in the woodshop with you (even only once in a while) consider yourself lucky. Having a shared hobby with your significant other is a great way to spend time.
    On today's episode we're building what's become lovingly known as the MattKEA table. A solid wood, farmhouse-style table that easily accommodates 8-10 people with plenty of elbow room for good food and great conversation.
    So why did we jokingly call it the "MattKEA Table?"
    While Samantha is helping with most of the assembly, and almost all of the finishing, I was the one down in the shop manufacturing most of the components (except the legs and the top, more about those in the video...here's a hint though www.osbornewood.com.)
    The idea behind this build is that I'd do all the milling, shaping and joinery and she assembles the final product, just like when she comes home from a trip to Ikea.
    All kidding aside, it was actually a lot of fun and there's even a chance we'll do more of these joint project builds in the future.
    Help support the show - please visit our advertisers


    547 Sharpening station upgrade “no more chasing the stones!” Jun 01, 2015
    Show notes

    I don’t which I’m more excited about, the new and improved work surface I’m using for my sharpening station or the little addition I just added the other day?
    Sharpening my hand planes and chisels has always been one of those things that I begrudgingly did. It’s not that I didn’t get good results, it’s just that to achieve those results I felt like I was always jumping through hoops to get there.

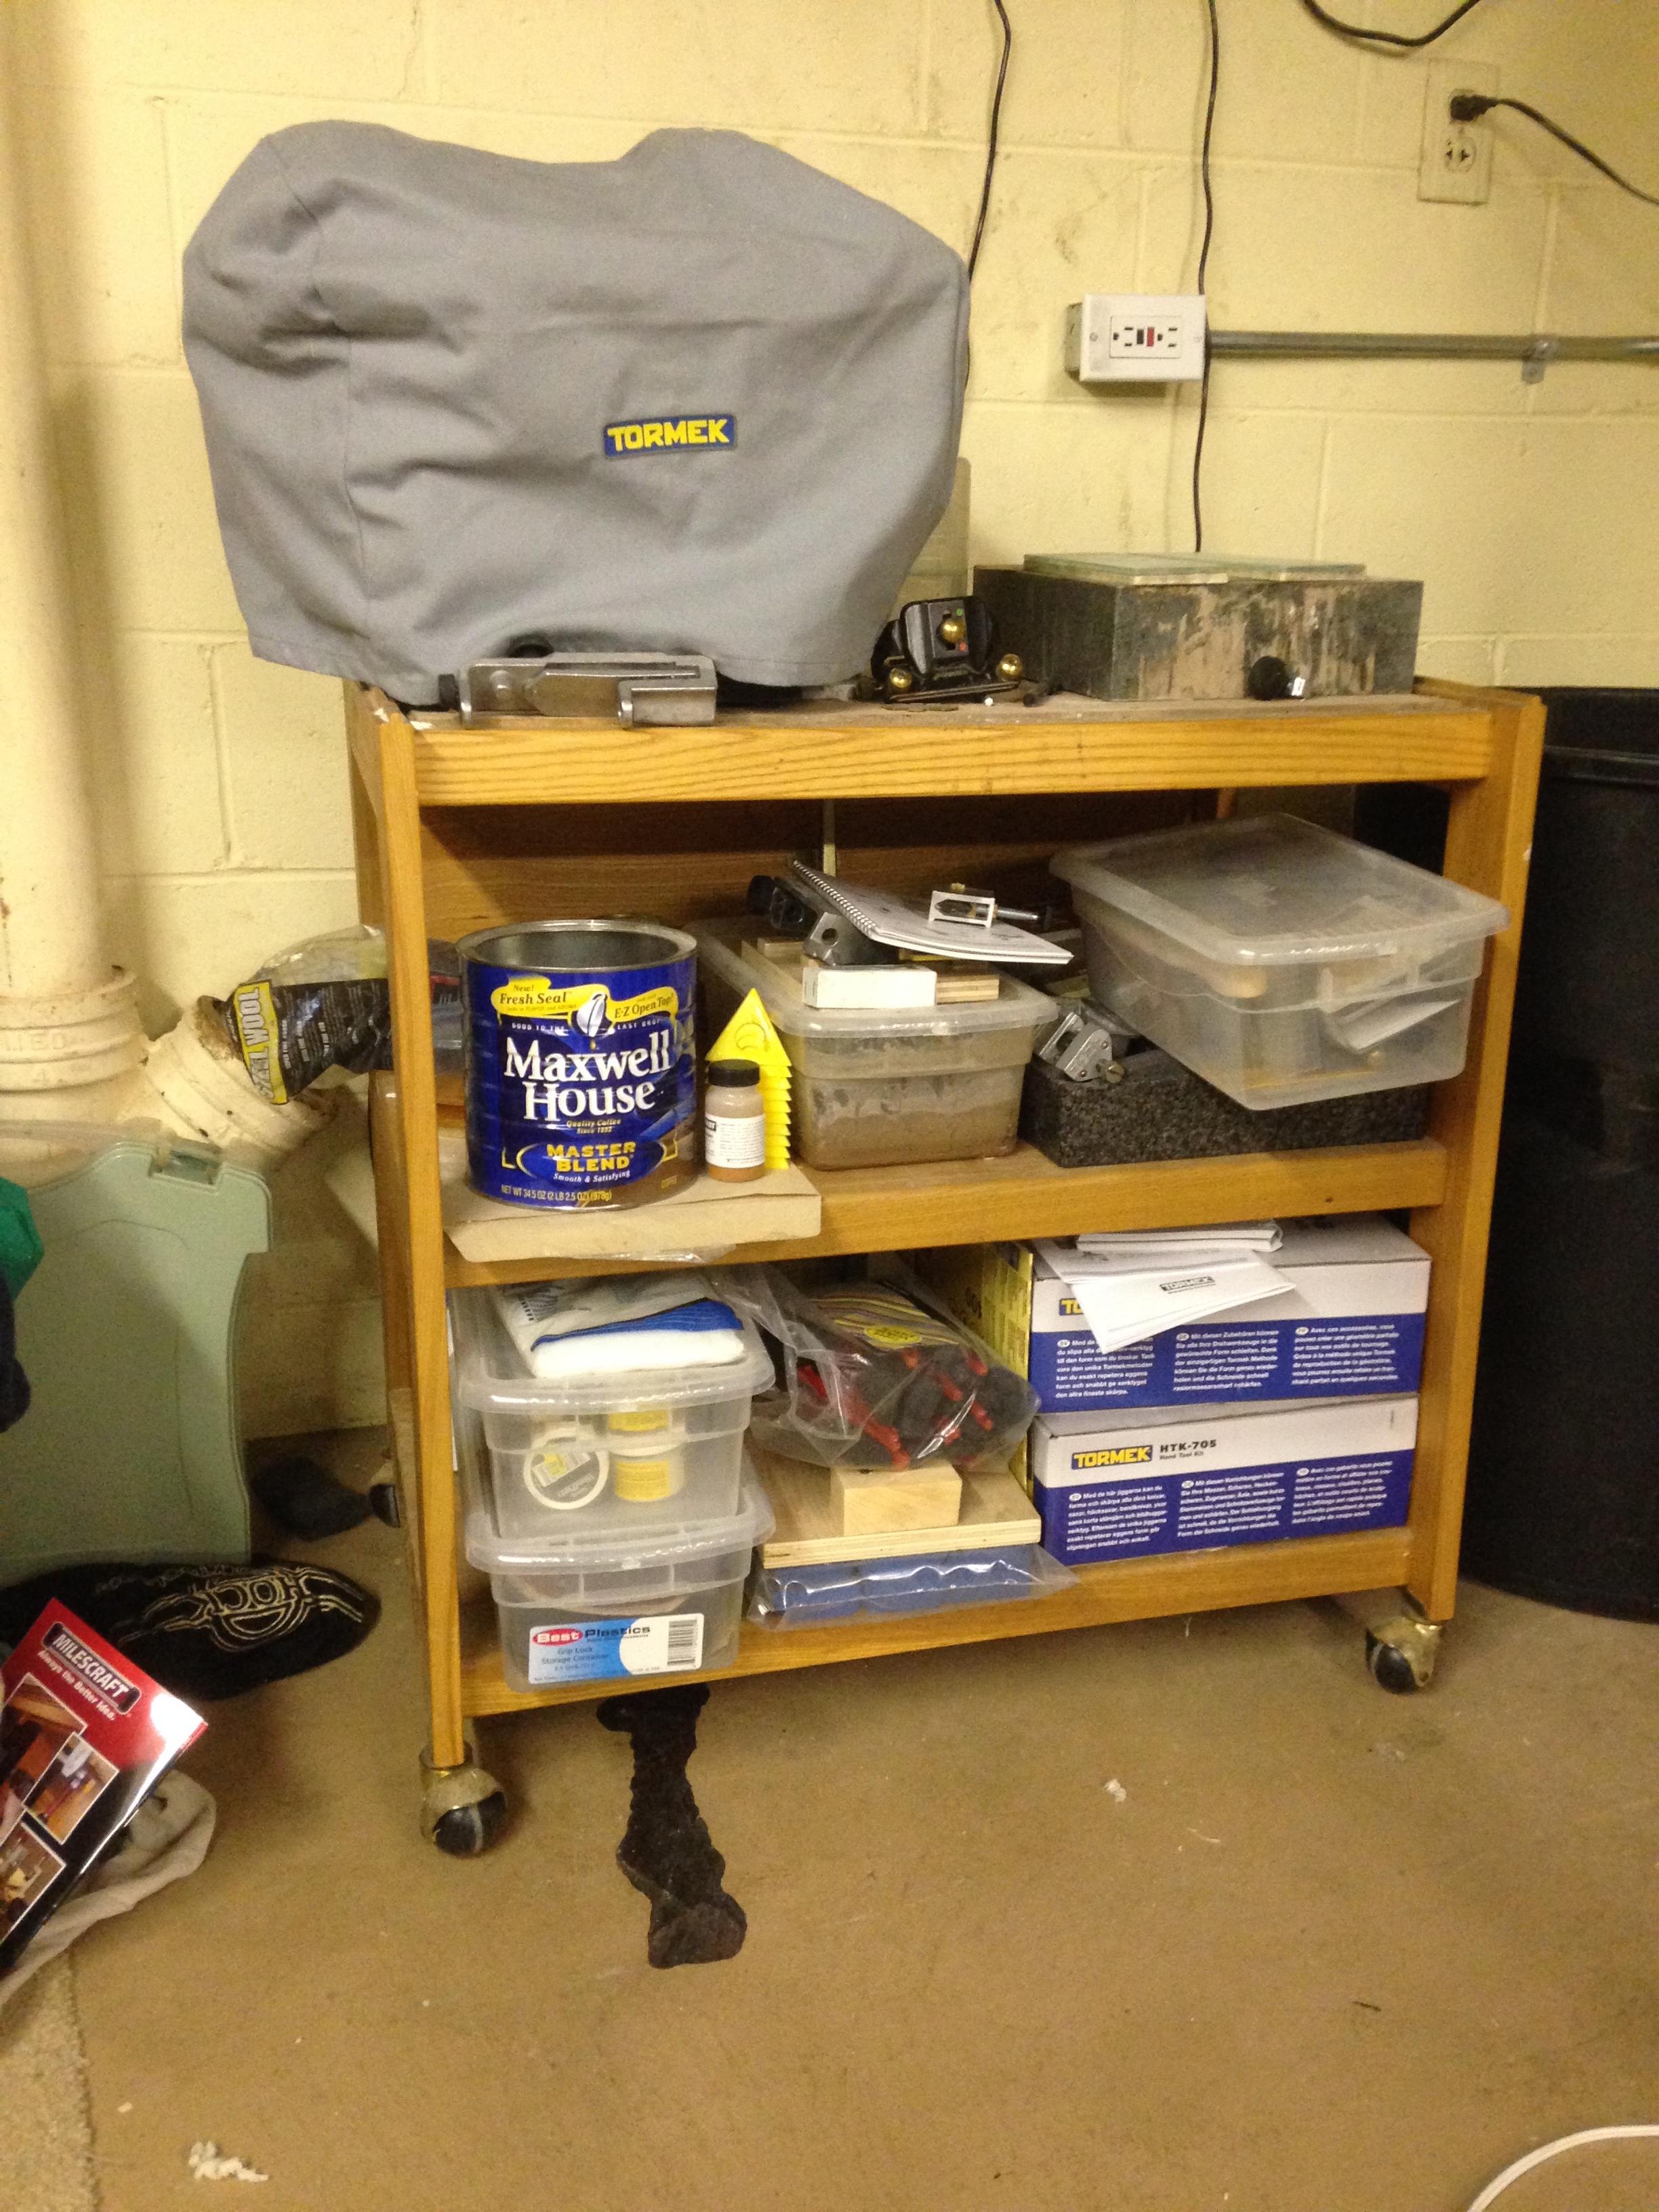
    The old sharpening station had its limitations...
    If you’ve ever seen one of my shop tours in the past you’re probably familiar with my previous sharpening setup, a re-purposed roll-around microwave cart. It did a decent job of acting as extra storage space for all my sharpening accessories and some other things, but what it didn’t do a good job at was providing enough work surface for laying out my stones so I could get to them quickly and easily.
    With this new sharpening station (which is actually once again a re-purposed kitchen storage item) I have plenty of work surface to lay everything out and still have room to spare.
    And because of this extra space, I decided I really wanted to have a setup that would make using my waterstones even easier, because up until now my biggest complaint with them was occasionally having to "chase" them across the work surface when using them.
    On today’s episode I’ll share with you a little upgrade I added to my sharpening station that I’ve been wanting to do for a long time now. The result will eventually be me honing and sharpening my blades more frequently!
    While I’m on the topic of sharpening stones, for current Chortle & Woobie-level Patrons of Matt’s Basement Workshop, it seems the perfect time to discuss how I care and maintain them, so that’s what we’ll be discussing in this episode’s bonus content.
    Not a Patron of the show? Please consider joining. For more information visit www.patreon.com/mattsbasementworkshop.
    Help support the show - please visit our advertisers


    546 The Drillnado hits the basement workshop May 22, 2015
    Show notes

    I've been trying to distance myself further and further away from product reviews. Since they consist entirely of opinions they can be a little tricky to pull off successfully.
    This is especially true if you've had plenty of time to try the item out and can navigate your way around it like a seasoned pro, and forget to mention the number of times it took you to get to that point (I promise I've never done that on this show...tempted to do it, but never have!)

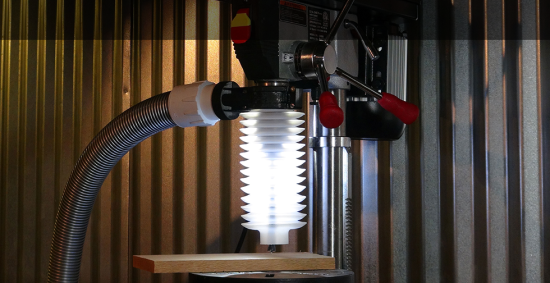
    Image of Drillnado courtesy of Drillnado.com
    One tool in the wood shop that doesn't typically have a built in dust collection system or necessarily a great way to capture dust at the source is the drill press. Sure there are different ways to go about pulling the chips and dust out of the way*, but one new option on the market is the Drillnado.
    The Drillnado is a dust collection accessory for the drill press that slips right over the chuck, the bit and clamps on to the quill. According to the folks at drillnado.com it's designed for use with most floor-model drill presses, but can be easily adapted to many bench-top versions also thanks to the included components in the kit.
    (**NOTE: After recording the video and sharing it with the folks at Drillnado.com I heard back from them that they’ve started manufacturing the sleeve that fits over the drill bit without the narrower nose at the bottom. They’re now pre-cut to work with the larger diameter forstner and spade bits you might be using.)
    I haven't used it for more than demonstrational purposes, but given the early success I've had with it, I don't have a problem recommended it to anyone who's looking for a great way to add dust collection to their drill press (there was one little hiccup involving my Festool dust extractor, but I'll explain more about that in the video.)
    Drillnado is a Chortle-level Patron of the show.
    *Patrons of Matt's Basement Workshop at Patreon.com will see more about other options in the bonus content just for Chortle-level patrons and above
    Help support the show - please visit our advertisers


    545 Madison’s Dresser Pt 9 “The big reveal” Apr 26, 2015
    Show notes

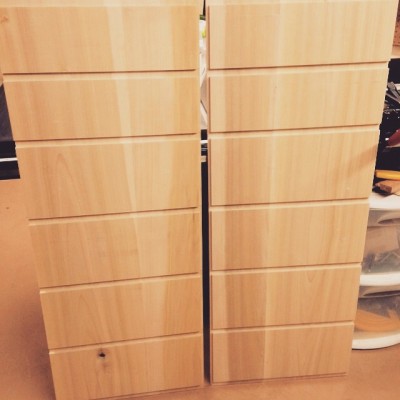
    In today’s episode we wrap-up this epic nine-part series on the construction of the 8 Drawer Tall Dresser for my daughter Madison.

    8 drawer tall dresser
    It always seems to happen no matter how hard we try to avoid it. As we near the end of a build there are plenty of small (and sometimes significant) details we have to tackle before we can move on to the finishing process, and this build is no exception to that rule.
    For this project those loose ends include the final dimensioning and installation of the top, and the finessing of the reveals around the drawer fronts, a task that can sound harder and more complicated than it actually is.
    Unfortunately at this time my daughter hasn’t picked a color for the paint, nor have we even begun to consider pulls for the drawers, a task I have a feeling is going to be even more tedious than the paint. But I’ll keep everyone up to date in a future blog post or revisit to see the final outcome. Thanks for watching!
    A full set of detailed plans are available for sale on my website, thanks to Brian Benham of Benham Design Concepts.
    You can find them by visiting our new "Digital Downloads Store" by clicking here.
    Help support the show - please visit our advertisers


    544 Madison’s Dresser Pt 8 "Drawer Construction" Apr 10, 2015
    Show notes

    The end of the tall dresser build is almost here. One of the final things left to do, other than apply the paint, is to build the drawers. So that’s what we’re doing in today’s episode, it’s all about drawer construction.

    pinned rabbet joint
    We’ll discuss dimensioning the Baltic Birch plywood for the drawer box sides. Fabricating the drawer runners that the boxes will ride on to keep them centered in their openings, not to mention how they’ll help to make opening and closing them much smoother.
    Then we’ll follow that all up with the construction and fitting of the pinned rabbet joinery we’ll use to assemble the sides to the solid wood drawer fronts.
    After today’s episode we have only one more to go and the entire construction of the 8 drawer tall dresser will be wrapped up and ready for the paint room.
    A full set of detailed plans are available for sale on my website, thanks to Brian Benham of Benham Design Concepts.
    You can find them by visiting our new "Digital Downloads Store" by clicking here.
    Help support the show - please visit our advertisers


    543 Madison's Dresser Pt 7 “Standing on Her Own” Mar 19, 2015
    Show notes

    When I first came up with the basic design for Madison's dresser I knew I wanted to incorporate turned feet into it. I'm still as novice a woodturner as anyone can be, but as I've learned over the years the quickest way to becoming better is to be at the tool rest as frequent as possible. So for today's episode it's all about my time in front of the lathe turning and shaping the four tapered feet that support the entirety of the dresser.

    dresser on tapered feet
    Originally I tried to convince myself that a much simpler form would suffice, but once we had the plans together there was no doubt in my mind a tapered turned foot was a must. I'm sure this style of design has a given name (they all do,) but whatever it is, it just appealed to me as I thought about what my daughter would like for her own piece of furniture.
    The turning and tapering process is really simple, as you'll see when you watch, but it wasn't until I started the fourth foot that I finally found I had been way overcomplicating the process. I obviously spent way to much time overthinking, and being overcautious (don't confuse this with being flippant and cavalier about my safety) in how I was approaching it.
    The difference in time to accomplish the same task from the very first foot to that last one dropped dramatically. Too bad I didn't film that last one though. Still, the technique I demonstrate achieved the same result and was only about 1-2 minutes longer in overall time.
    My take away lesson in all of this? "Don't be shy with hogging away the material." Get right in there and get to work removing the waste quickly (and safely) so you can start finessing the final shape quicker.
    A full set of detailed plans are available for sale on my website, thanks to Brian Benham of Benham Design Concepts.
    You can find them by visiting our new "Digital Downloads Store" by clicking here.
    Help support the show - please visit our advertisers


    542 Madison's Dresser Pt 6 "The Glue Up” Mar 13, 2015
    Show notes

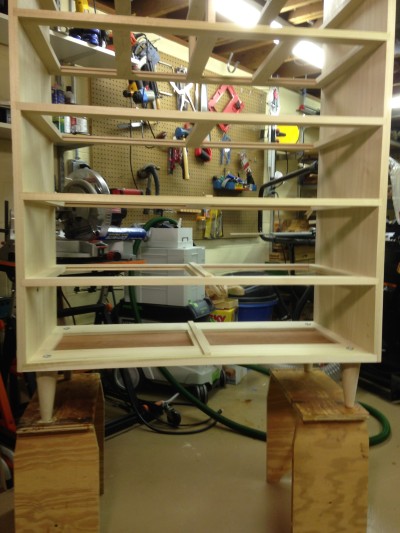
    With all the drawer frames built, and assembled it’s time to glue them into position in their corresponding dados between the two sides.

    IMG_4176
    Glue ups aren’t all that bad on a small scale, but when you have this many pieces to put together in a short amount of time it can be downright scary if you let it.
    But if you take the time to do a few practice runs to anticipate where things might get sticky (pardon the pun) it’s not that difficult to formulate a plan for when you finally breakout the glue bottle and actually get started.
    In today’s episode we only have three things to discuss. First is a slight alteration to the existing plan, second is cutting and installing the drawer guides and third is the massive glue up itself.
    The first two are only a small portion of the episode, but the third is almost all the footage I shot to give you an idea of just how long it took me and all the little steps that went into it. On the bright-side, it came together better than I anticipated, but next time, I think I might ask for some help from the family to speed it up.
    A full set of detailed plans are available for sale on my website, thanks to Brian Benham of Benham Design Concepts.
    You can find them by visiting our new "Digital Downloads Store" by clicking here.
    Help support the show - please visit our advertisers


    541 Madison's Dresser Pt 5 "More drawer frame stuffs” Mar 05, 2015
    Show notes

    Just when you thought you were finished, they pull you right back in again!
    Actually I was never really finished, once I had the drawer frames glued up I still had a little more work to do on them before we're ready to assemble the entire body of the dresser.
    So in today's episode we're going to finish the construction of the drawer frames.

    Chopping stopped dados
    This involves cleaning up the dried glue and tweaking the joinery to insure the drawers will slide in and out smoothly every time. And it also involves cutting a dado down the center rails to accept a drawer guide we'll install later to help keep the drawers perfectly centered.
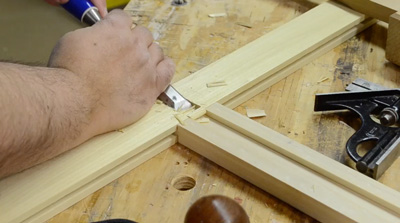
    Unlike the dados we cut for the sides of the dresser body, these dados are a stopped version. So this requires a little more planning to make sure they don't show on the front face and a little chopping with chisels, followed by some tweaking with a router plane.
    All of it can sound a little complicated, but it's not as bad as you think it will be.
    A full set of detailed plans are available for sale on my website, thanks to Brian Benham of Benham Design Concepts.
    You can find them by visiting our new "Digital Downloads Store" by clicking here.
    Help support the show - please visit our advertisers


    540 Madison’s Dresser Pt 4 “Drawer Frames” Feb 27, 2015
    Show notes

    We’re making progress with the 8 drawer tall dresser I’m building for my daughter Madison. In today’s episode we’re moving on to building the drawer frames for the dresser.

    drawer frames
    Drawer frames are a crucial component in the overall body of the dresser, and while most probably won’t notice them in their entirety (other than the edge of the front facing rail) it’s still important to make sure they’re well constructed.
    There are a number of joinery options to choose from, including non-traditional joinery such as pocket-holes (which is actually what I was originally planning to use.) But the joinery I decided to use in this build was a traditional tongue and groove joint.
    To insure the mating pieces match up as perfect as possible, I opted to use a tongue and groove router bit set I featured several years ago in an episode of “Router Bit of the Month.”
    Also featured in this episode is the glue-up process for assembling the drawer frames and a quick discussion of cleaning up the dados from the last episode (something I didn’t plan to do, but it turns out they needed a little assistance.)

    A full set of detailed plans are available for sale on my website, thanks to Brian Benham of Benham Design Concepts.
    You can find them by visiting our new "Digital Downloads Store" by clicking here.
    Help support the show - please visit our advertisers


    539 Madison’s Dresser Pt 3 “Sides, sides, everywhere are sides” Feb 19, 2015
    Show notes

    It’s time to get started with the actual building of Madison’s tall dresser, and the first steps in the process is making the sides for the body.
    sides with dados
    These consist of two wide, solid-wood panels just over 49 inches in length and 19 inches in width.
    In order for us to attach the drawer frames (which not only support the drawers but are an important part of the overall structural framework of the dresser,) we need to plow out a few dados across the width of the sides and cut rabbets at the top/bottom and also on the back edge to eventually receive the back panel.
    For the side panels I got really lucky and chose two extra-wide boards (approximately 12+ inches in width each) to make up the majority of the width, and then eventually glued them together with some not so extra-wide 8 inch boards to give me a rough dimension I could start working with.
    To mill the extra-wide boards I decided against ripping them to widths that would fit on my 8 inch jointer, and instead built a very simple thickness planer sled that would allow me to flatten one face as if I had ran it over the cutter head of a monster-sized jointer.
    Then after the glue-up was completed it was over to the table saw to crosscut and rip the panels to size, followed by installing my dado blade and getting to work on those dados and rabbets.
    I’d love to tell you there weren’t any complications along the way…but that would be a lie! So we’ll discuss what happened and how I fixed those mistakes in today’s episode.
    A full set of detailed plans are available for sale on my website, thanks to Brian Benham of Benham Design Concepts.
    You can find them by visiting our new "Digital Downloads Store" by clicking here.

    Help support the show - please visit our advertisers


    Previous 1 2 3 4 15 Next

    Related Podcasts

    The Joe Rogan Experience

    1

    The Joe Rogan Experience Comedy
    Casefile True Crime

    2

    Casefile True Crime Games & Hobbies
    Reply All

    3

    Reply All Games & Hobbies
    You Must Remember This

    4

    You Must Remember This Games & Hobbies
    Real Time with Bill Maher

    5

    Real Time with Bill Maher Games & Hobbies
    Last Podcast On The Left

    6

    Last Podcast On The Left Comedy
    footer-logo

    Contact Us

    Toll Free: 844-670-7747

    Links

    • Home
    • Top Charts
    • Networks
    • Apps
    • Independents Podcasts
    • Podcast Advertising
    • Podcast News
    • Contact Us
    • About Us
    • Analytics & Insights

    Stay Connected

      Privacy, Terms of Use & Our Code of Ethics Protecting Content Creators Copyrights