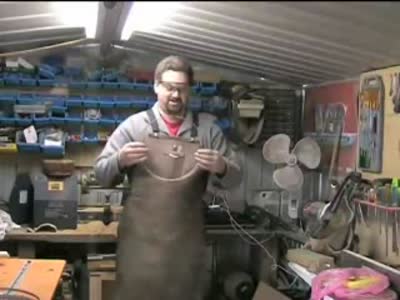
I made this video while I was creating a vertical garden for an article in The Shed magazine.
Lost the files for a while (and forgot I had shot the video!!), but here it is at long last!
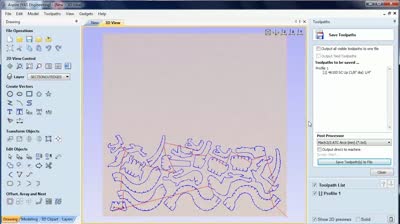
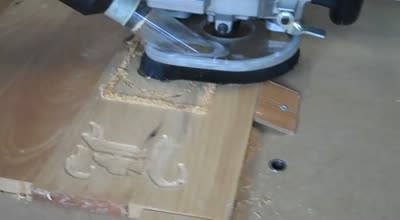
Episode 118 Lancaster cut video
Oct 09, 2015
A quick video of the Lancaster Bomber being cut out. I don’t want to think how long it took this video to actually get done – so many delays, so few windows of opportunity to work on it! I decided to cut my losses and just put together what I had, rather than stress too much about really refining it.
Episode 117 Traditional Carriage Wheel Production
Jul 14, 2015
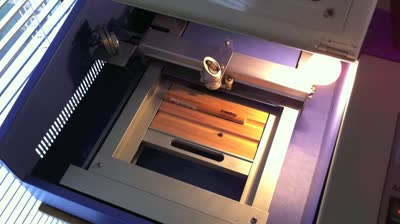
SSYTC082 Australian Animals Series
Jun 23, 2015
(A slight delay in the SundayCNC post!)
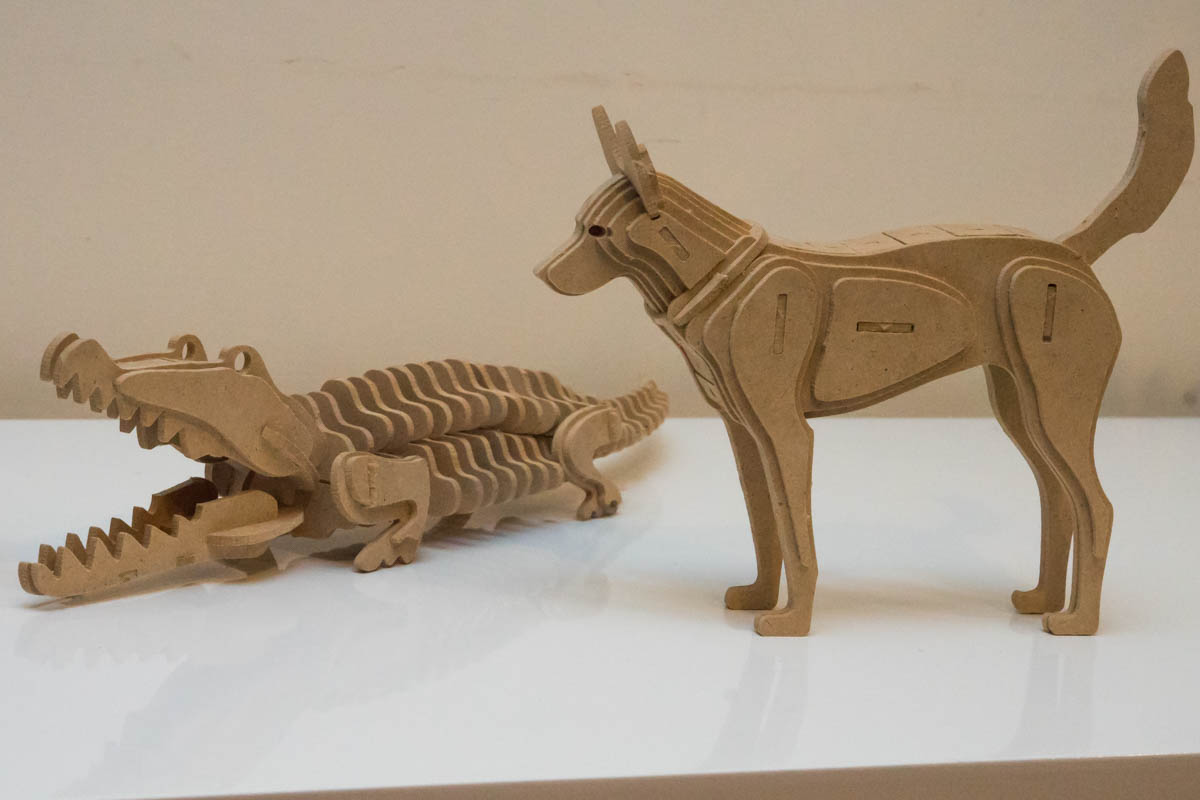
The Australian Animal series, from MakeCNC.com (scroll down a bit to the Australian Animals)
A really nice set of designs, with some real standout patterns. By far and away, the Sulphur Crested Cockatoo is the most impressive, at least in my opinion. However, it was the Echidna that I had to make a second time, because the first was ‘requisitioned’ by one of my work colleagues, as being “too cute”.
I really like the delicate magpie, and the facial (and mouth) detail of the Tasmanian Devil. But I’m sure everyone will have their own favourites.
I would say these are more advanced patterns, as they take a bit more effort to assemble, but slowly and surely each can be bought together. I occasionally shaved some pieces down just a little to loosen the fit, as I was gluing them, rather than leaving the models so they could be disassembled at a later stage.
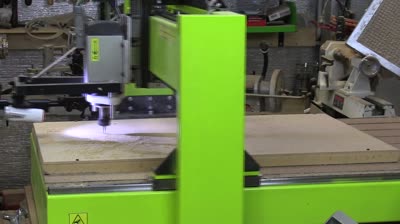
Routed on the Torque CNC 9060, using the 1/16″ straight, 2 flute 45190 cutter from Toolstoday.com, running at around 40mm/sec, and 12000RPM. Each cut from 3mm MDF, with most being able to fit either 2, sometimes 3 to a 900×600 sheet. Except for the Cockatoo – that took pretty much an entire sheet on its own. Of course, there is no reason why you cannot go bigger if you choose – cutting from 6mm, 12mm (or thicker) MDF. And you don’t actually need a CNC to make use of the patterns. A laser and/or router are all very well, but you are not limited to computer controlled machinery. Print out the designs and stick them on stock timber, and you could cut them out with a scrollsaw or bandsaw.
The animals in the series are:
Sulphur Crested Cockatoo Magpie Kookaburra Emu Echidna Bilby Frilled Neck Lizard Salt Water Crocodile Dingo Wallaby Wombat Kangaroo with Joey Tasmanian Devil Koala Walking Koala in Tree Platypus
Episode 111 Nova Infinity Chuck and Jaw upgrade
Feb 25, 2015
Killing a blade softly
Dec 19, 2014
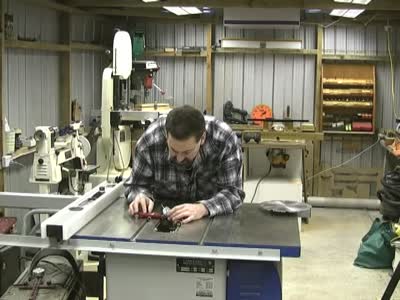
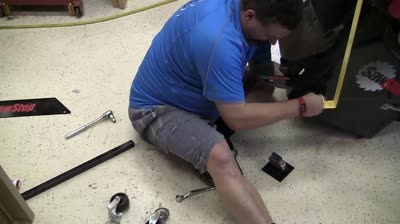
As mentioned recently, I had an opportunity to demonstrate the SawStop Industrial (5HP) to a group from the Instrumentation & Technology Development Facility (Monash Instrumentation Facility), and the Faculty of Science, both from Monash University.
The following video was taken and edited by Steve Morton, from the Scientific Imaging Service within the Faculty of Science, Monash University. Used with permission.
Episode 110 Multiple Layer Inlay Stencils
Nov 30, 2014
This episode uses one of the MLIS (Multiple Layer Inlay Stencils) from Tarter Woodworking.
Good product, great results, and a very realistic price to boot. What’s not to love?
The template used here is the Yin Yang. I did try the Clownfish, but have to come back to that for a second attempt (got my order of steps wrong!) I’ve also just started on the Monarch Butterfly, which is a lot easier than the clownfish (despite being massive in comparison), and fun.
Learning from mistakes
Nov 15, 2014
We all know the idiom about book-smarts versus street-smarts, and it holds just as true (if not more-so) for woodworking as any other pursuit.
You can read and read about a topic, watch all the videos, follow the forums and talk with experts, but I can still guarantee the first time you pick up a chisel and try to make a square object round on a lathe, you’ll discover in practice what a kickback (or chisel dig-in) is ALL about!
You can learn as much as you can from all other avenues (and that is a good thing), but the real learning curve comes from biting the bullet and trying it out for yourself. However, jumping in the deep end without RTFM is fraught as well. Tried that yesterday, and the result was, well, a learning curve. No real harm – bit of time was wasted, and some scraps of timber, so that could be considered well worth the price. As another saying goes (stolen from its association with fishing): “a bad day woodworking still beats a good day at work” (Of course you’d want to add a small suffix to that “so long as you finish with as many body parts as you started with!”)
Tried out the MLIS (multiple layer inlay stencils) from Tarter Woodworking, and while I didn’t finish with a result, the templates proved how well they would work once I refined my processes. Trying to do it the first time and on camera just makes it that much more difficult! I also started with a pattern that was perhaps a little more complicated than I should have, so the second round will be with a simpler form.
So the majority of the video footage is destined for the editing floor. You can see a bit of timelapse footage that is left over.
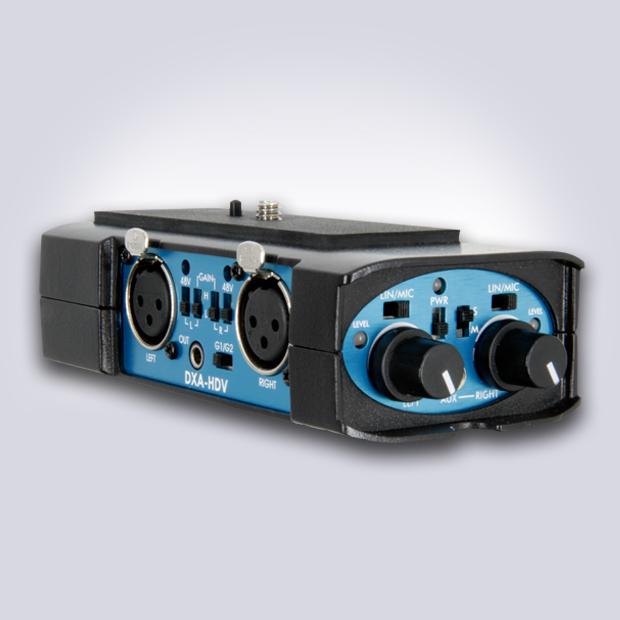
It was a good test run of the multi-camera setup, and particularly the new audio recording arrangements. Running a couple of high-end mics (NTG-3 and NT5 Rode mics) through a Beachtek DXA-HDV gave some great results.
Rode NTG-3
Rode NT5 Matched Pair
Beachtek DXA-HDV
SSYTC076 Ordering SawStop Online
Nov 04, 2014
Gave the I Wood Like website a run today, specifically around their new online shopping cart.
Very seamless and easy way to purchase blades, brakes, inserts, even entire machines (both SawStop and MiniMax).
The blade purchased will be the subject of an upcoming review.
Details of delivery address and payment details have been removed from the video, for obvious reasons!!
SSYTC075 Timelapse 3D Print
Nov 02, 2014
TWWWS Panorama 2
Oct 25, 2014
TWWWS Panorama 1
Oct 25, 2014
3D printer in action
Oct 19, 2014
First quick video of the printer working.
Had a few teething problems, mainly around getting the print to adhere to the bed.
Removed the aluminium bed and replaced with glass. A quick wipe of the surface with a glue stick, and we were away laughing!
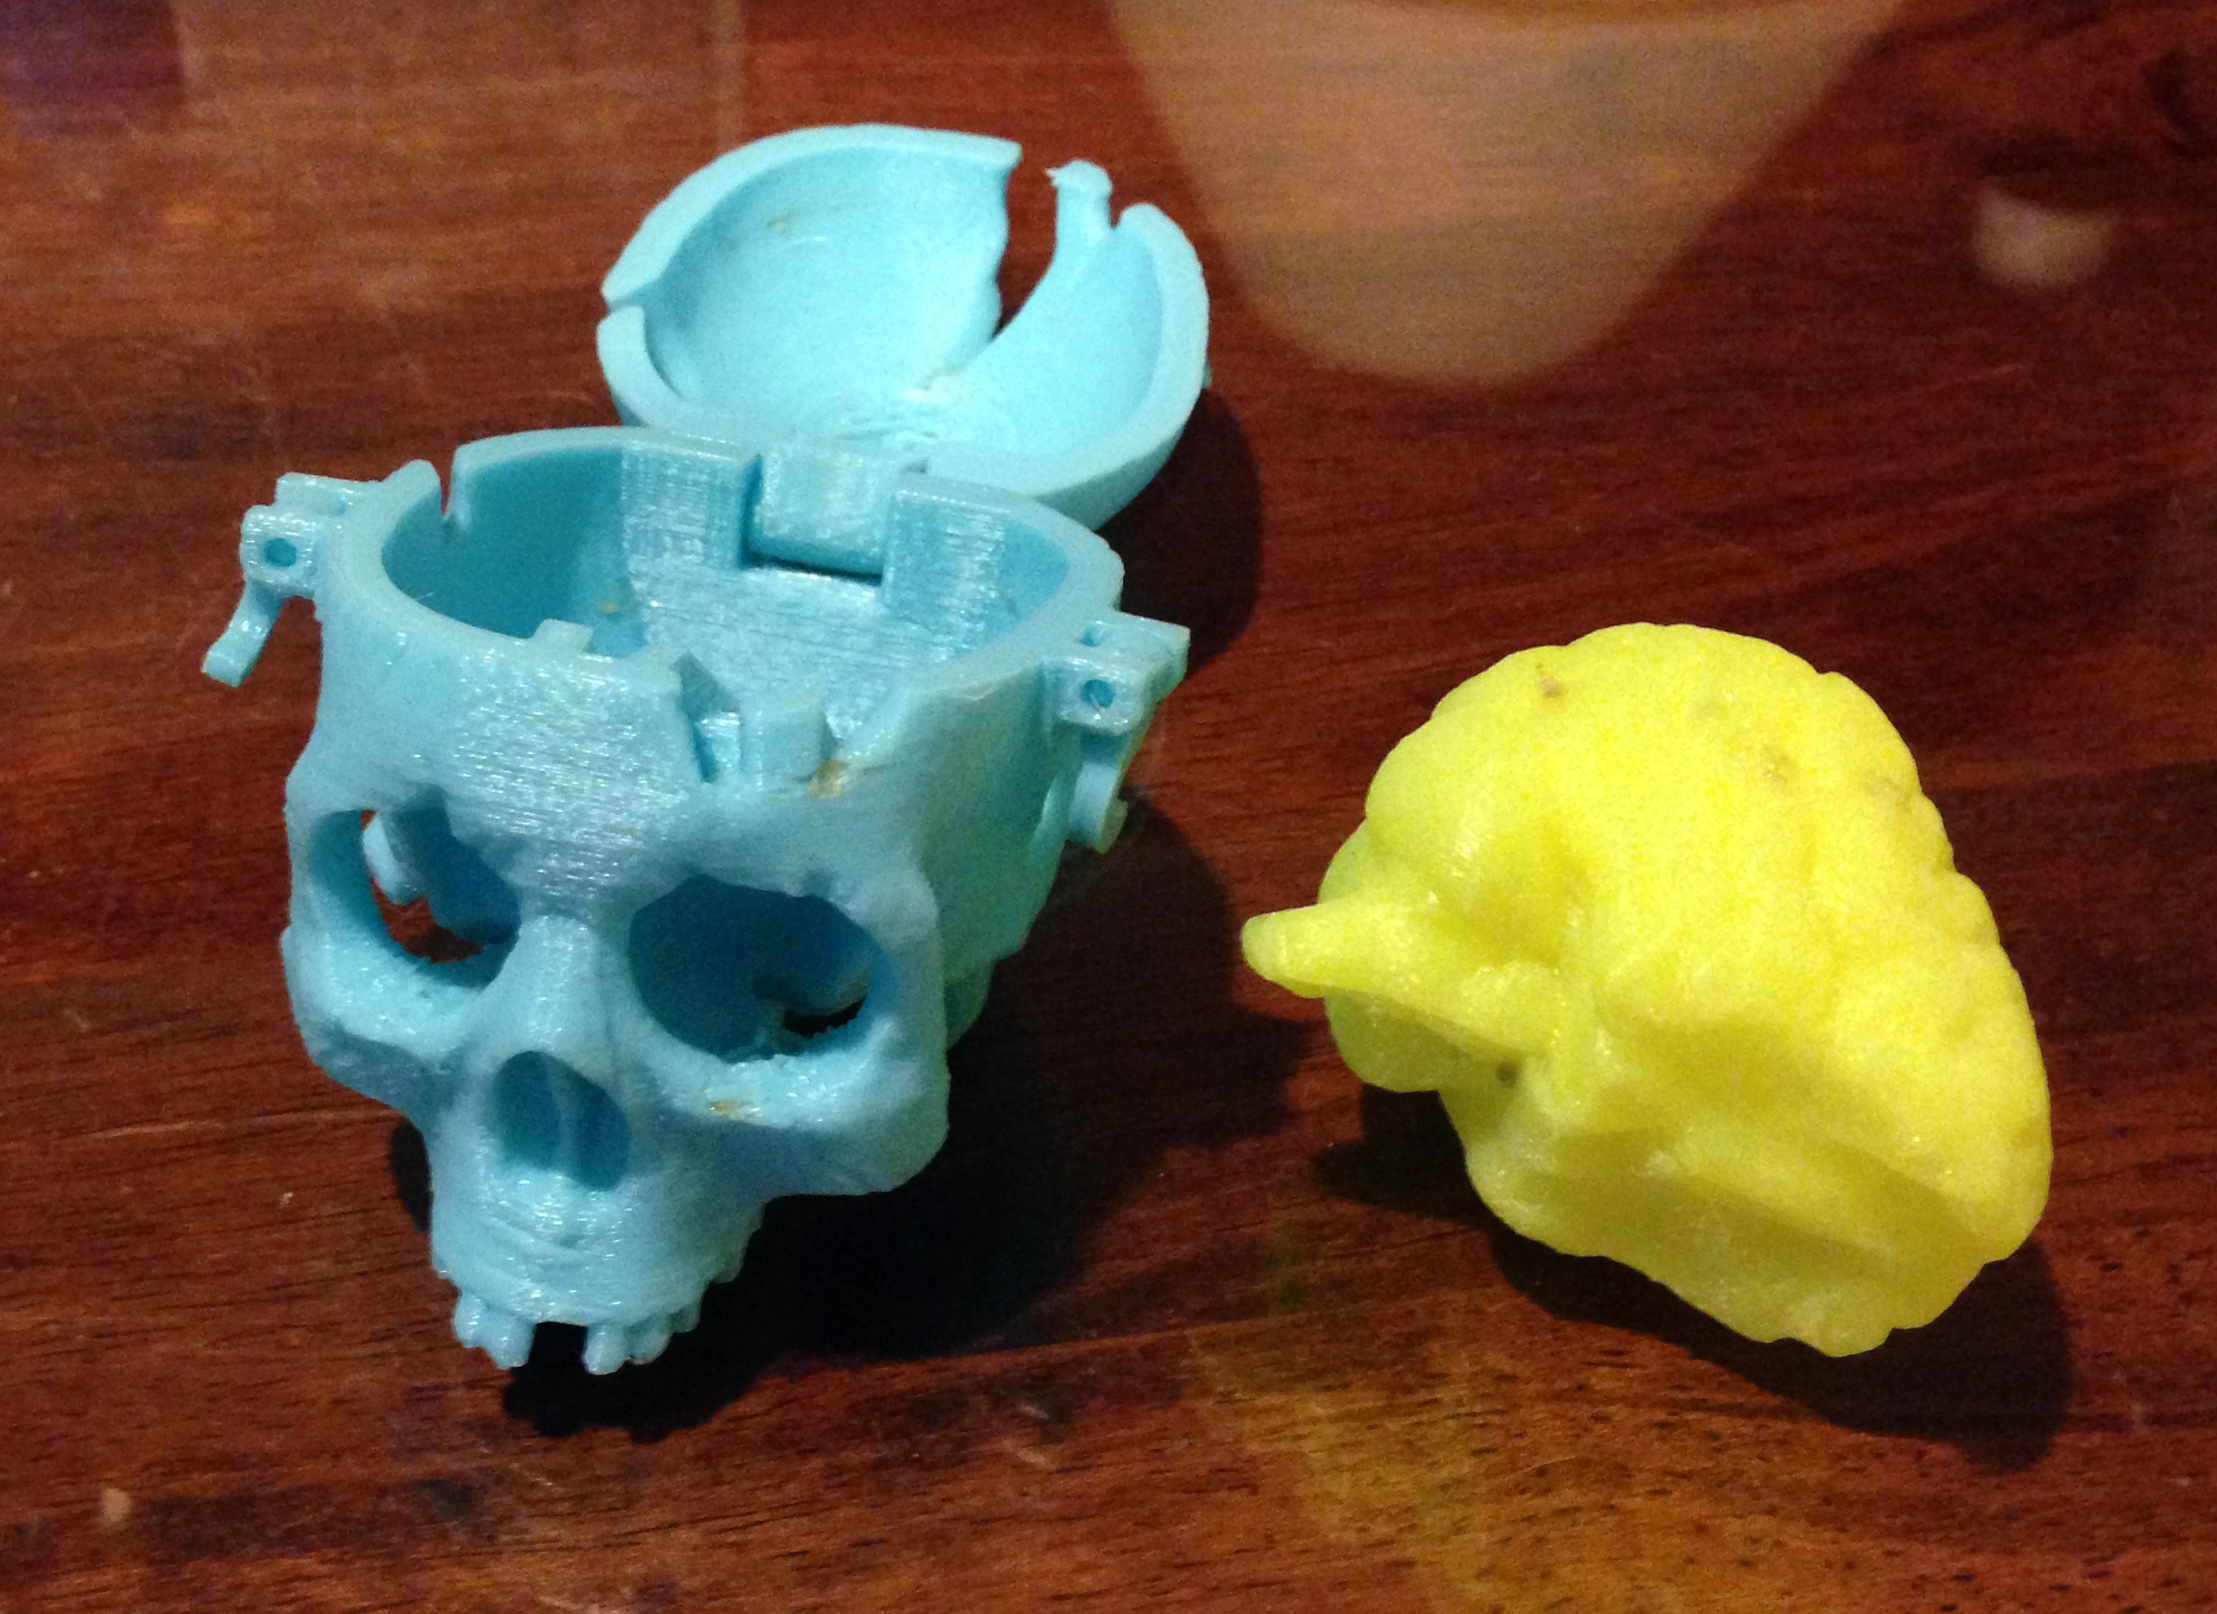
Print completed
Ready for removal
Skull box completed, ready for a brain
Hooks to hold the lid closed. The rear hanging point has since been removed (bandsawn and sanded).
Had a look at the blade(s) after the fact, and found out where the significant cascading sound comes from when the brake activates. 12 separate tungsten carbide teeth ripped loose of the blade. Most presumably are due to the spacer blades not being in direct contact with the aluminium brake, so were able to move when the blade was (rapidly) decelerating, and knocked the teeth off as they slid past.
It is a good effort, stopping that much spinning steel on a dime!
Episode 107 Miniature Copy Bit
Aug 18, 2014
Episode 106 SawStop Guard
Jul 30, 2014
Episode 105 Freeform Router Bowl
Jul 29, 2014
Using the Amana Tool bowl bits from Toolstoday.com, I create a freeform double (interlocking) bowl
SSYTC067 PA Doors
Jul 22, 2014
SSYTC066 Blade FUBAR
Jun 13, 2014
For those just interested in wanton destruction!
Episode 104 Stop the Saw!
Jun 13, 2014
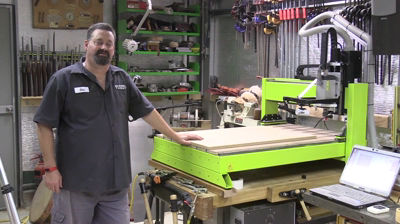
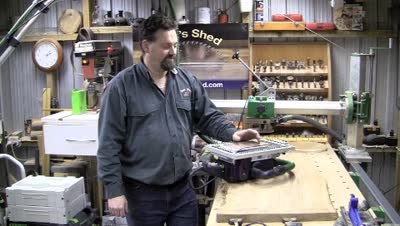
Episode 103 Shed Tour
Jun 10, 2014
Finally! A tour of the shed, warts and all. It is still a work in progress, but I guess, it will always be somewhat of a work in progress!
Episode 102 Centipede Sawhorse
Jun 09, 2014
Episode 101 David and Goliath
May 19, 2014
Featuring the smallest, and largest Amana Tool router bits from Toolstoday.com (at least those that fit a standard 1/4″ and 1/2″ router). Surfacing is done on a Torque Workcentre.
SSYTC065 RapidAir Installation Update
Mar 22, 2014
Most of the system is now in place and connected up, just need a few extra connectors to finish it off.
Have shot this quick walking tour so you can see the setup that I have put in place.
As mentioned, the system is sourced through Professional Woodworkers Supplies, and it makes it very easy to create a professional looking setup around the workshop.
Episode 96 Shed Build Timelapse
Mar 20, 2014
I have gone back to the individual files of the shed build, and bought them together to create this final version (the reason I labelled them 96A, B, C etc)
So enjoy Episode 96 – 20000 photos taken over 5 days documenting the creation of Stu’s Shed V3.0
Episode 100 Assembling the SawStop
Feb 14, 2014
Episode 100 Assembling the SawStop
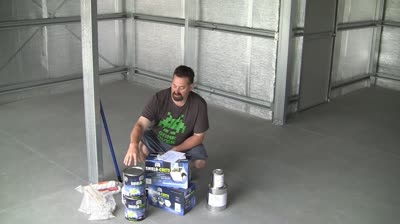
Episode 99 Epoxy Floor Treatment: Shield-crete
Jan 13, 2014
Episode 99 Epoxy Floor Treatment: Shield-crete
Episode 96e Shed Build Day 5 Timelapse
Jan 08, 2014
Episode 96e Shed Build Day 5 Timelapse
Conclusion of a Saga!
Episode 99a Floor Treatment – Acid Etch
Jan 07, 2014
Episode 99a Floor Treatment – Acid Etch
Episode 96d Shed Build Day 4 Timelapse
Jan 07, 2014
Episode 96d Shed Build Day 4 Timelapse
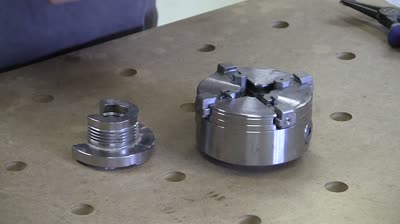
Episode 98 Upgrading Jaws to Nova Infinity
Jan 05, 2014
Episode 98 Upgrading Jaws to Nova Infinity
Episode 96c Shed Build Day 3 Timelapse
Jan 03, 2014
Shed Build – Day 3
Episode 97 Upgrading the SuperNova2 to Infinity
Dec 31, 2013
Episode 97 Upgrading the original SuperNova2 to be a SuperNova2 Infinity chuck, with quick-change jaws
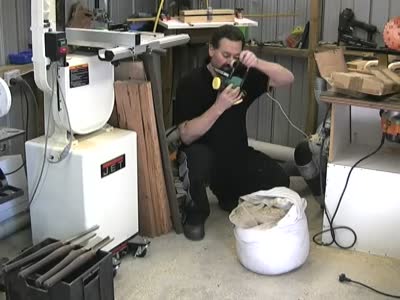
SSYTC064 SpinChill
Dec 30, 2013
It may not be woodworking, but we all enjoy a cold beverage of some description, and we have all been stuck on occasion wanting it cold a lot faster than conventional methods will allow.
Here is a quick look at a way of using a power tool (drill) and a bucket of ice, along with a Spin Chill bit (from SpinChill.com who I found through Kickstarter (crowd funding)) to get a bottle or can to drinking temperature in 60 seconds.
Episode 96b Shed Build Day 2 Timelapse
Dec 27, 2013
Episode 96a Shed Build Day 1 Timelapse
Dec 20, 2013
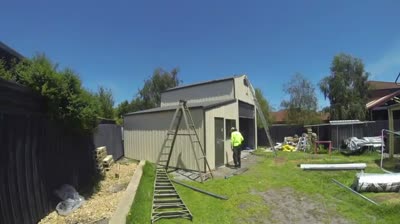
SSYTC063 The Shed Arrives
Nov 29, 2013
SSYTC063 The Shed Arrives
All 1.6 tonnes of Australian Steel. There is a bit more to come – a roller door that will arrive later today, and the PA doors, the windows and insulation is currently at the yard waiting for the erectors.
So now we wait again, hope for a long run of fine weather so the other sheds in the queue get done quickly. It is going to be interesting to see how this pile of miscellaneous steel shapes become a shed. The pile looks very small compared to the resulting structure!
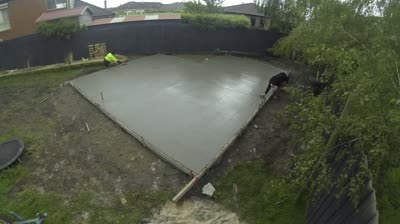
SSYTC062 Snapshot of the Slab Pour
Nov 22, 2013
SSYTC062 Snapshot of the Slab Pour
Episode 95C The New Slab
Nov 22, 2013
Episode 95C The New Slab
Episode 95b – The New Slab
Nov 19, 2013
Episode 95B The New Slab Part B – Finishing Slab Preparation
Shot on a GoPro Hero3 Black, 720p on a 5 second time lapse
Episode 95a – The New Slab
Nov 16, 2013
Episode 95A The New Slab Part A – Clearing the block
Shot on a GoPro Hero3 Black, 720p on a 10 second time lapse
6 hours in 1.5 minutes!
Episode 94 Dr Kapex
Oct 30, 2013
Episode 94 Dr Kapex
Testing the true depth of cut of the Festool Kapex.
Also see (briefly) the Kapex stand in action, and the Promac generator.
SSYTC058 Profile Pro on the C26 Genius
Oct 27, 2013
Another tool I got to play with at the wood show was the C26 Genius, a MiniMax combo– again from Gabbett Machinery.
Trying out the Amana Tool Profile Pro from Toolstoday.com, with a rebate cutter, then one of the profile cutters.
Photos are in an earlier post, but you can’t really see just how smooth the finish was, straight off the tool.
Cutters were changed without having to remove the cutter block from the spindle moulder – very easy system that positively aligns, and restrains the blades in the cutter block.
The starter set comes with 7 different profiles (including a straight rebate), but there are 137(!!!) different profiles to choose from for this cutter block, many costing around $US26.
SSYTC058 Profile Pro on the C26 Genius
SSYTC057 1st Hands-on Experience of the SawStop
Oct 27, 2013
At the wood show last weekend, I got to set off the SawStop mechanism, not once, but 3 times.
Funnily enough, I was quite tentative about it the first time – we are talking about an extremely violent reaction at massive speed.
However, in practice it was a lot quieter and more gentle than I was expecting (but just as fast!) It was amazing just how easy it is to do something stupid, and how capable the SawStop is in allowing you to be able to get away without permanent disability.
You don’t change your work practices (you remain working as safe as ever) – noone wants to set it off even so. Like airbags in a car, you’d not want to ever see them deployed, but if you did, you would be most grateful they were there.
So here is the video of the very first time I got to set off the SawStop brake.
At the local school fete, and the local (Port Philip) historic machinery society come each year with their eclectic collection of vehicles and machines.
A few looked like they would be ideal for powering a belt-driven machine, or a small workshop line shaft.
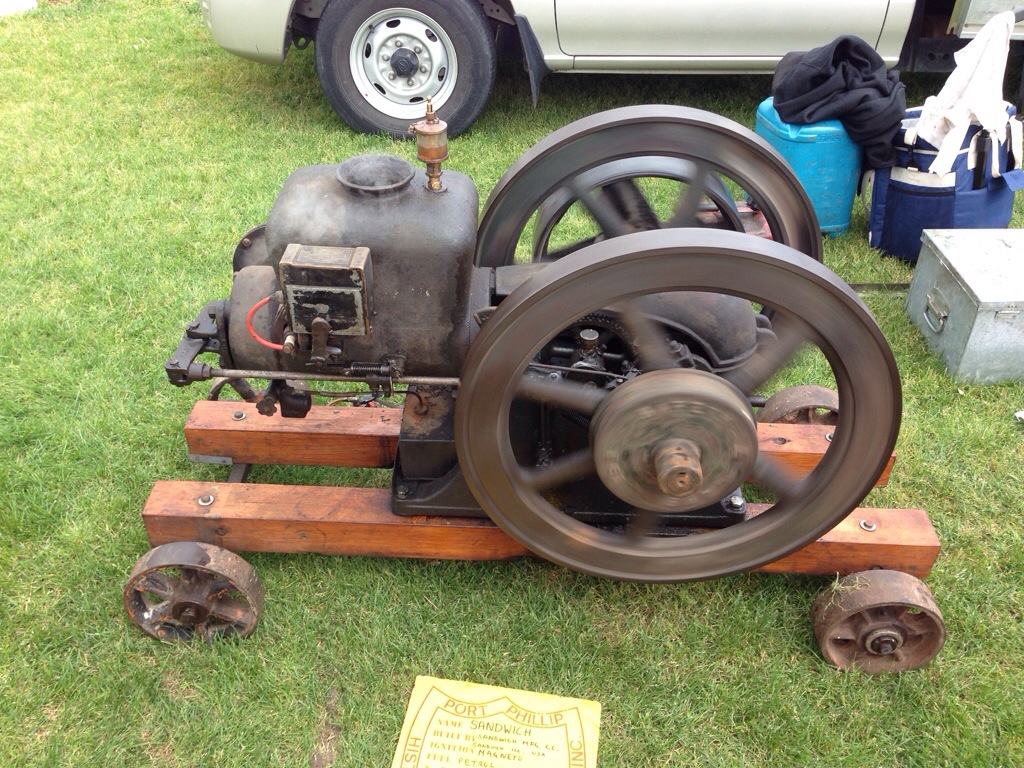
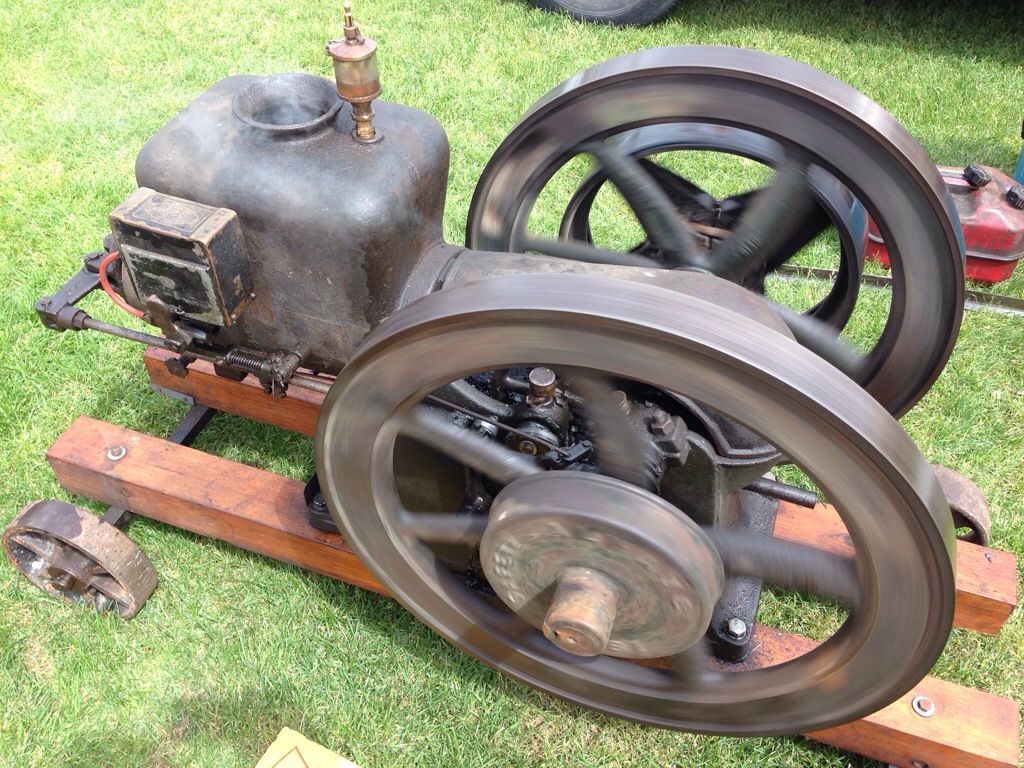
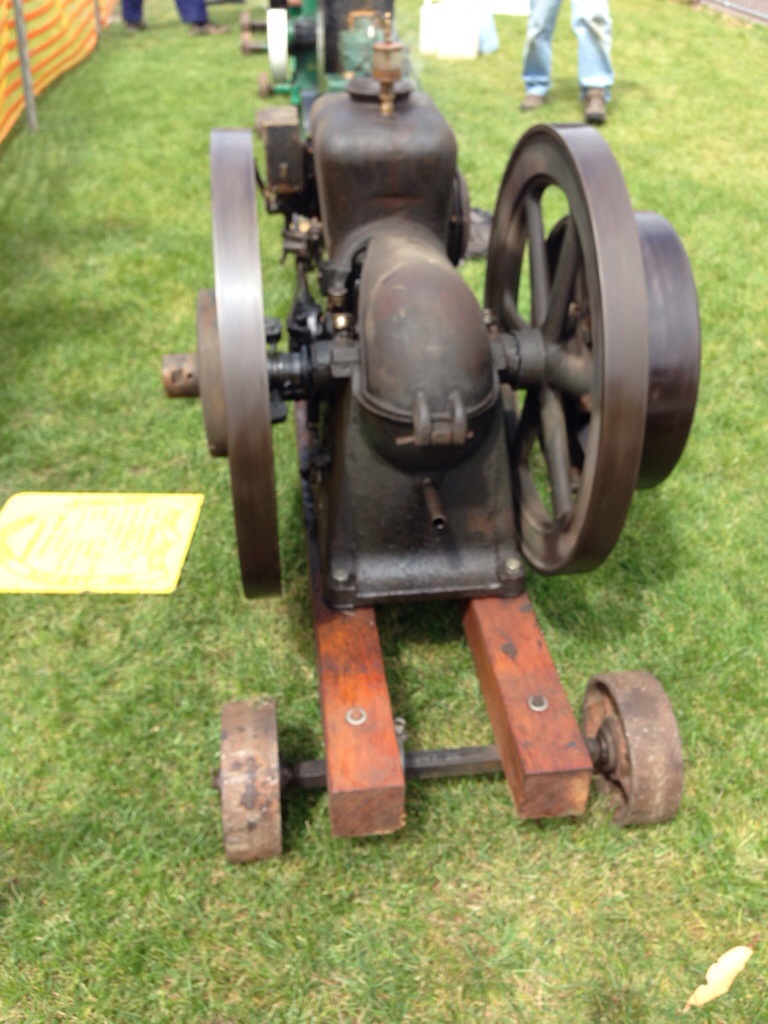
One I particularly looked at was indeed a motor that originally drove a tablesaw.
It is a 2.5HP petrol engine by the Sandwich Manufacturing Co, from 1926. It has a magneto ignition, and runs around 425RPM
It may be a 4 stroke, but when you watch the video, the movement of the lever under the magneto unit, and the valve operation is just how slow the firing rate is when the engine is idling.
A simple, clever regulating system means it just ticks over, firing the piston only when the motor slows below a certain speed. An impressively fuel efficient system. As load increases, the firing rate also automatically increases.
The ‘pot’ of boiling water is the cooling system. Instead of a radiator, the water is allowed to boil away, with the energy required to transition the water to steam being an effective method to pull heat out of the engine. Of course you have to monitor the water and oil level! The oil drip-feeds the engine, with just the required amount gravity fed in each stroke, which then works down past each surface needing to be lubricated.
An impressive unit from a bygone age.
SSYTC056 A ‘new’ tablesaw engine
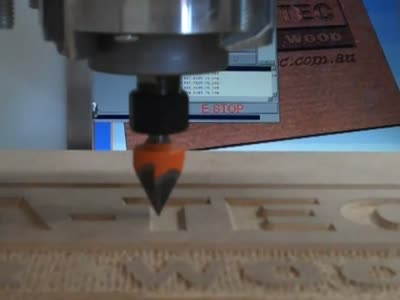
SSYTC055 Routing the Japanese Dragon (CNC)
Oct 06, 2013
SSYTC055 Routing the Japanese Dragon (CNC)
SSYTC054 Also sprach Zarathustra
Oct 03, 2013
SSYTC054 Also sprach Zarathustra
Promac GTO68E 6.8kVA Generator
SSYTC053 Carving out a niche
Sep 10, 2013
SSYTC053 Carving out a niche
The CNC Shark Pro from Carbatec. Carving the ManSpace logo in a piece of walnut.
SSYTC051 & 52 More GoPro Trials
Jul 27, 2013
The first video is using the fly-jig, with an additional wire now (as pictured recently) for additional stability. The second wire will also allow panning effects, by offsetting the attachment points in relation to the main line. There is still some shake that I haven’t been able to solve – wind is the primary culprit, so this jig is probably more of an interior-only variety. There will still be more I can do to stabilise it – I’ll just have to think what that is! Raising the camera so it is directly opposite the line, rather than below it will help a little. Having some damper system on the line(s) to minimise vibration transmission is probably the next target. Further slowing the period of oscillation of the jig (in the same way as a pendulum is controlled, or a spring-system) will also help. Further increasing line tension would help too, but that will require some modification to the jig itself to cope with the increased rigidity that the tension would cause. (BTW, the timelapse is over approximately 20 minutes, not that there is much to watch – a few clouds and growing grass!)
SSYTC052 More GoPro Trials
The second jig is a skate jig. It uses the same type of motor (30 RPM at 12V) driving directly on one of the wheels. The camera was used to get the shot, so was notably absent, but is fixed via a tripod screw through the hole that can be seen near the battery. This jig is either used to run on a smooth surface or track. It will be interesting to see how easy it is to create a track that it can follow. Vibration is much less of a problem, but getting overhead shots is its limitation.
SSYTC051 More GoPro Trials
There are commercial solutions, but they often can operate over 1m or so, and/or are prohibitively expensive. Cheaper (non motorised) ones are out there – will keep searching for better options.
SSYTC050 Forced Intermission
Jul 19, 2013
There is something to be said for forced intermissions. Both longer term with the whole relocation, as well a current, temporary one, where I have needed some distractions to fill in some relatively immobile time.
May not have been able get any real workshop time in, but that meant I did have time to keep thinking of different approaches to filming, and the integration of the GoPro.
You’ve seen the fly-rig timelapse, and an adaption to the setup has potential to work on a dolly skate as well, so it can be self powered.
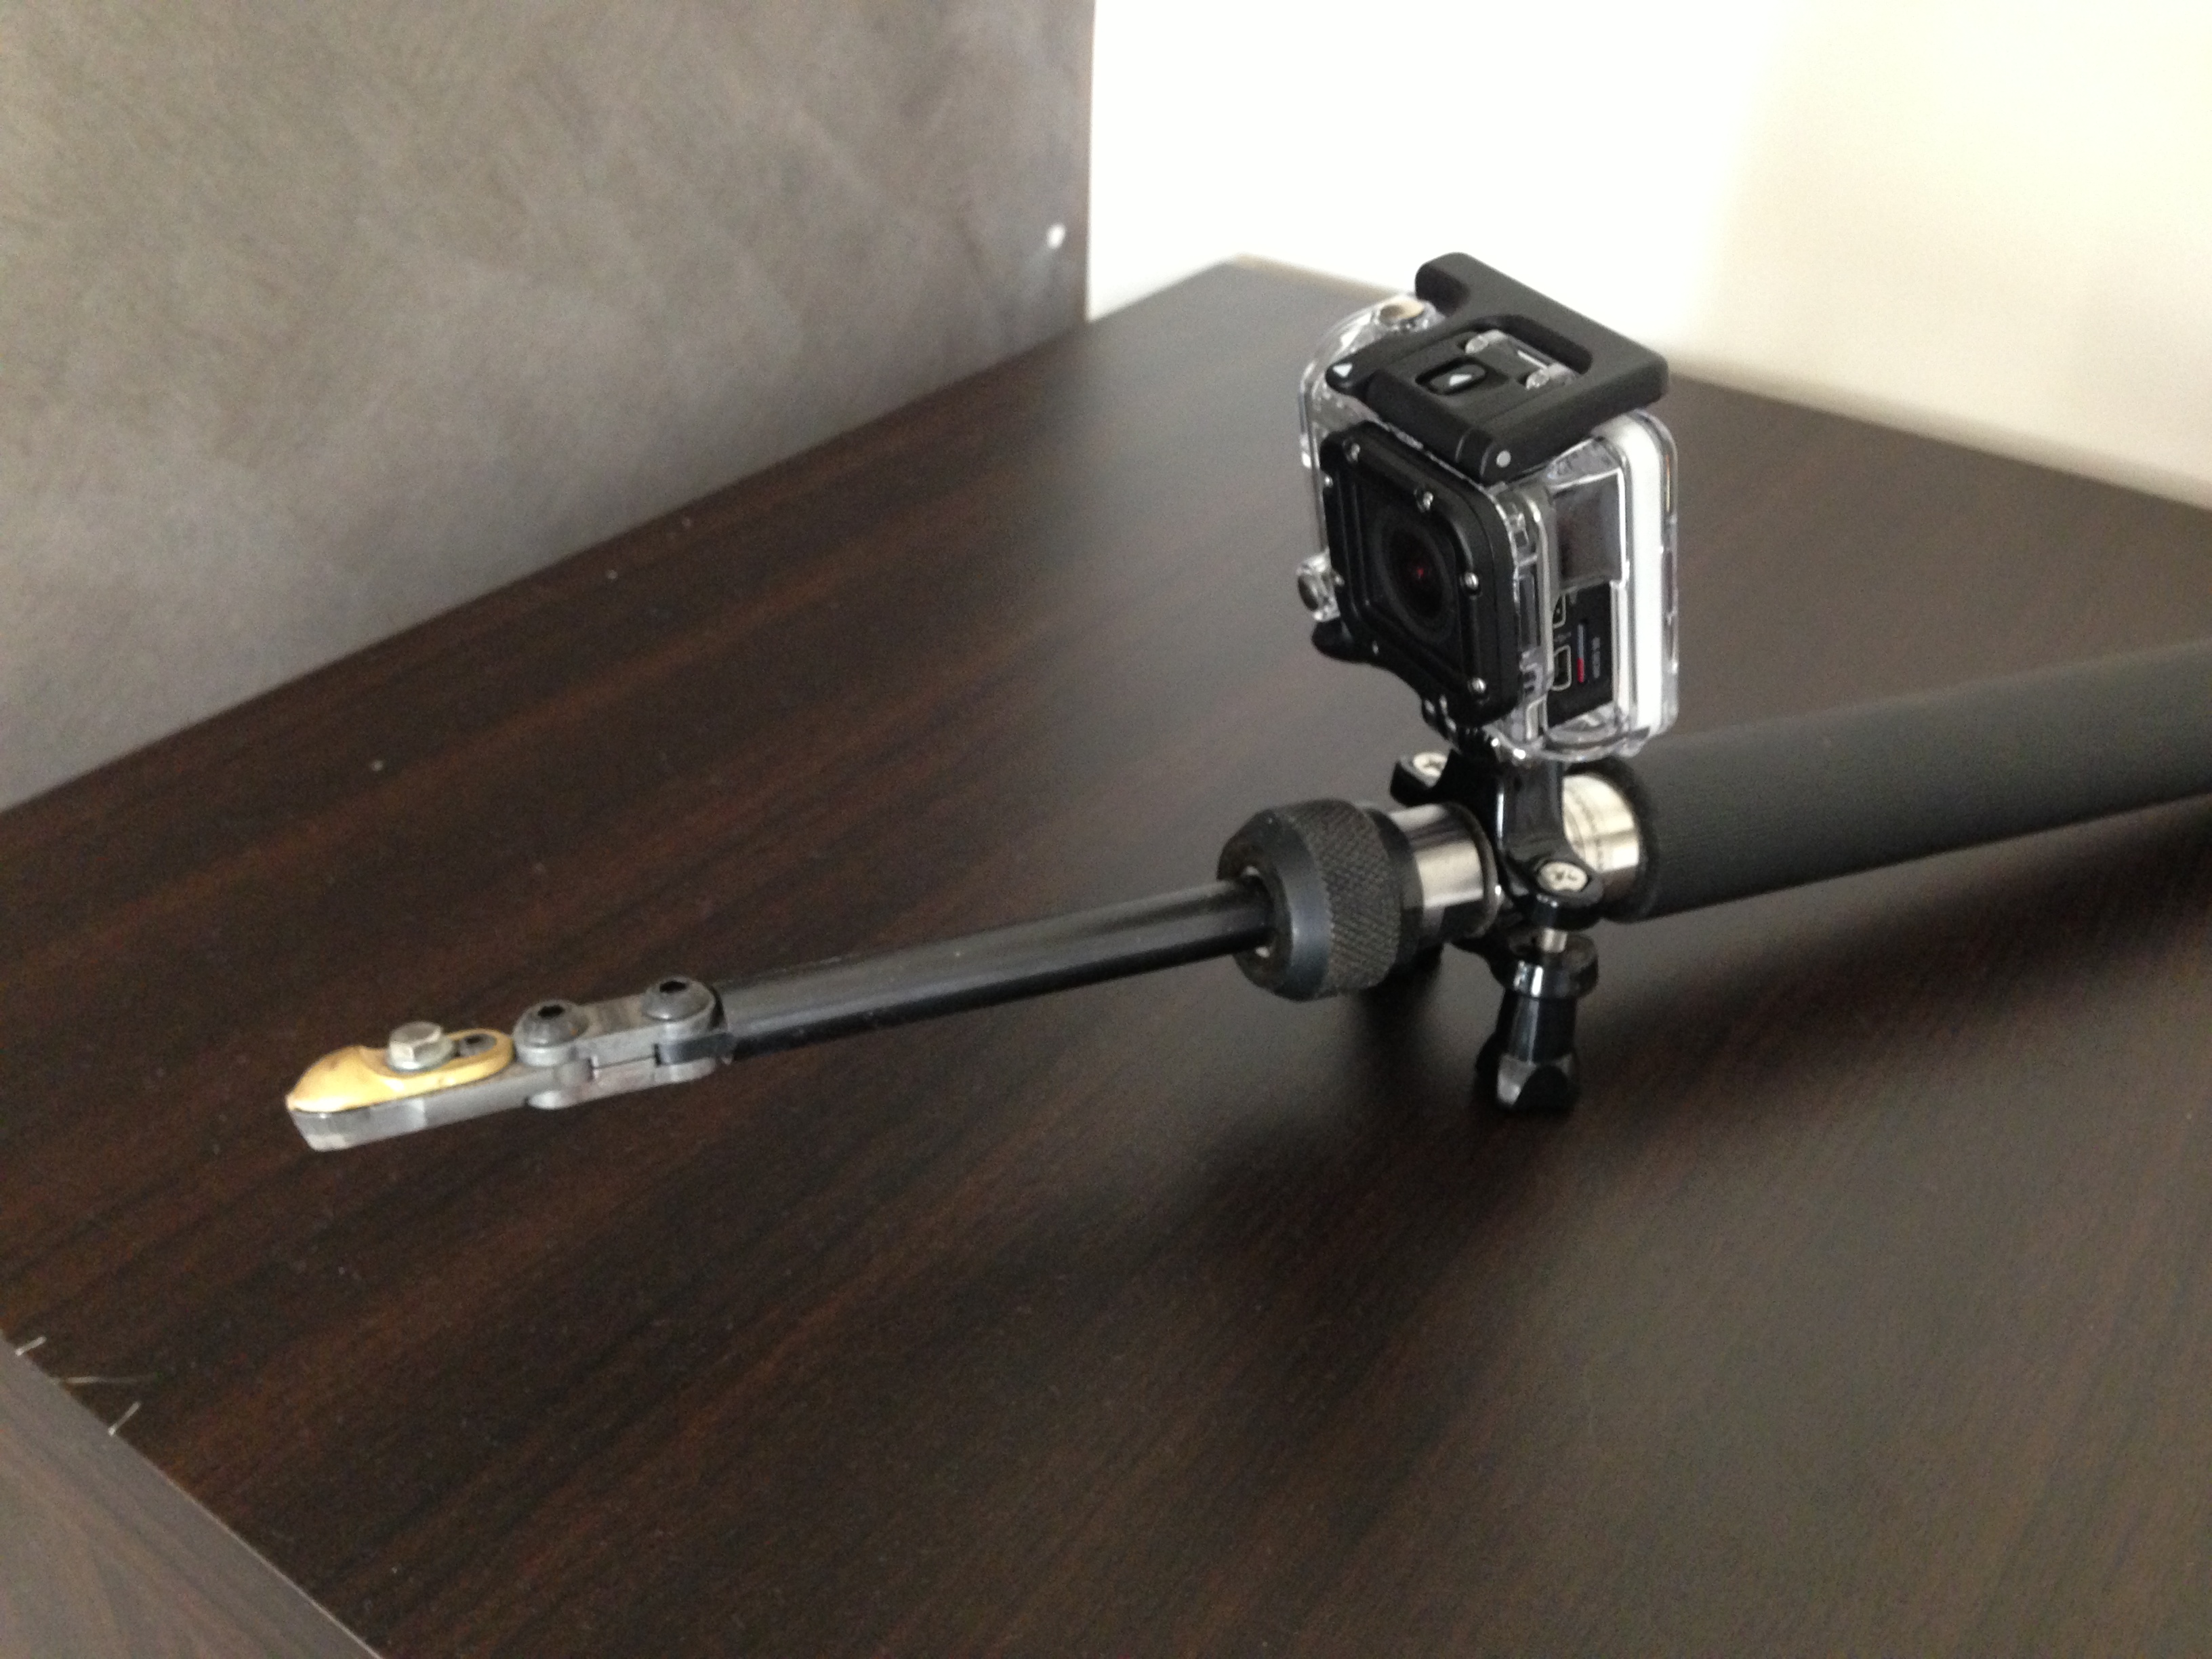
Another idea I’ve had, is how to mount the camera directly on a wood turning chisel.
GoPro Turning Chisel Mount
Without question I need better lighting for the scene to avoid hot spots – the very limited space I am currently working in does not allow that luxury. So excusing that (and my technique!), this gives a point of view like this:
SSYTC050 Forced Intermission
Shot at 240FPS, the first portion is at full speed, the second is slowed to 1/20th speed.
SSYTC049 Four Seasons in One Day
Jul 18, 2013
Many places lay claim to having such a feature of their climate, and Melbourne is certainly renowned for it. Today was a very unusual day – hottest July day on record (23.3C), and then the temperature plummeted as a cold front swept in, bringing strong winds and a downpour. At the time I happened to be conducting further trials of the GoPro timelapse jig, but the winds completely defeated any possible stability improvements I had made.
It goes to show that having a shed designed to survive excessive conditions is particularly important – after all, I have been through a shed collapse before (and it never happens when it is warm and sunny). Having cast iron tools out in the elements is not exactly good for them! I will get into more detail on Shed Safe in the near future – one way to add confidence to a shed purchase that it is fit for the conditions.
But back to what I was actually doing today – continuing trialing the time lapse capabilities of the GoPro. I ended up shooting the following footage of the storm rolling in – if I had been more aware of what was coming, I’d have started filming earlier!
SSYTC049 Four Seasons in One Day
The occasional black flicker are birds flying through the view. One frame actually caught a flash of lightning.
Soon this view will look rather different. That little shed’s days are numbered (just not quite sure what that number is yet!) The way the weather is going, it may go without any assistance!!
Episode 93 Installing a Gas Log Fire
Jul 04, 2013
Episode 93 Installing a Gas Log Fire
SSYTC048 Who says drill bits are boring?
Jun 18, 2013
Some can do more…..
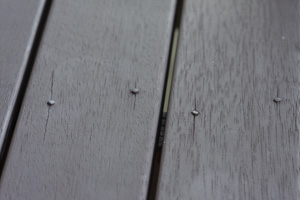
Where it comes to the reasons for drilling holes, the reasons can be many, and varied – I’m sure you can think of dozens of reasons without me making a list.
One of those reasons is as a pilot hole for screws. This can be to prevent the timber splitting from having a screw boring in, pushing the timber aside to the point that the surrounding timber cannot withstand the pressure. Some timbers being a lot more susceptible than others. Alternately, (and not necessarily exclusively), it can be because the force required to drive the screw into the timber is more than the screw’s torsional strength. We’ve all had screw heads shear off, or the driver cam-out, burring the head.
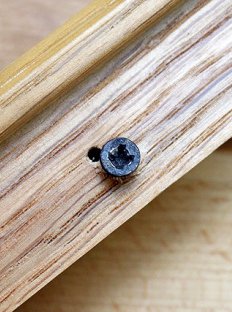
What happens to the head of the screw is what we are talking about here. After drilling a pilot hole, the screw head can be treated a number of ways. If it is a dome or similar, it is designed to sit proud of the surface, so job done. But often that is not the case, or desirable. You can drive the screw home, then push a bit further, to have the head pulled into the timber. Works in some cases, but can lead to an unsightly crush zone around the head, or if the timber is not strong enough, you can destroy the wooden thread you have just cut with the screw and then you might as well have used a nail for all the strength you’ve gotten. If the timber is too dense, you can again burr the drive or the screw head.
The solution is to countersink. This is normally a two stage operation – after drilling the hole, you then pick up you countersink tool to create the recess for the screw. These can be used with a drill, or like the old Triton countersink, be done with a handtool.
In the past, I have been known to pick up a second drill bit that is the diameter of the screw head, and use that to create the countersink.
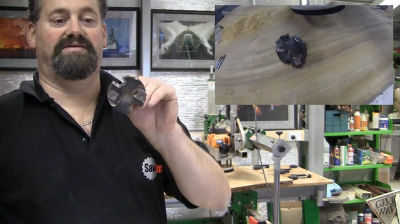
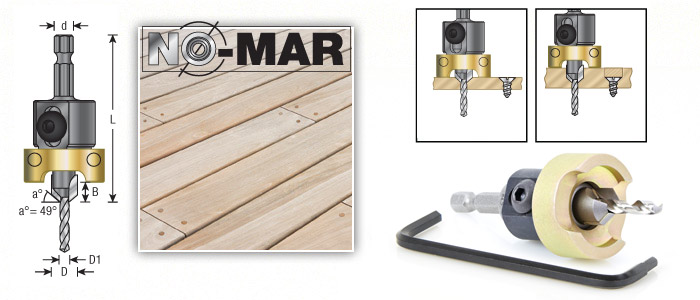
If you have a lot to do, drilling the pilot hole and countersinking in one step saves a lot of time. There are a few bits on the market that can achieve this, such as this one from Amana Tool
These are drill bits, fitted into a holder with carbide tipped countersink. You can drill and countersink to your heart’s content. Even if the drill bit blunts or breaks, it can be easily replaced and the carbide countersink will keep on cutting.
These are much more convenient than the two step operation, and in a CNC machine, depth is controlled by the program, not by the human user. Where you are using them free-hand, it can be easy to be a bit inconsistent in hole depth, so the screw is a still a little proud, or becomes fully recessed below the surface (and the countersunk area is a larger diameter than is necessary). If your intention is to fully bury the screw, then fill the resulting hole with a flush-cut dowel, then no problem – the inconsistent depth is a non-issue.
But what about using them freehand (as in handheld drill), when you do want the depth consistent (which would be a majority of the time I’d hesitate to say)?
For the rare few with a surviving Triton drill, you are fine – very comprehensive, built in depth stop.
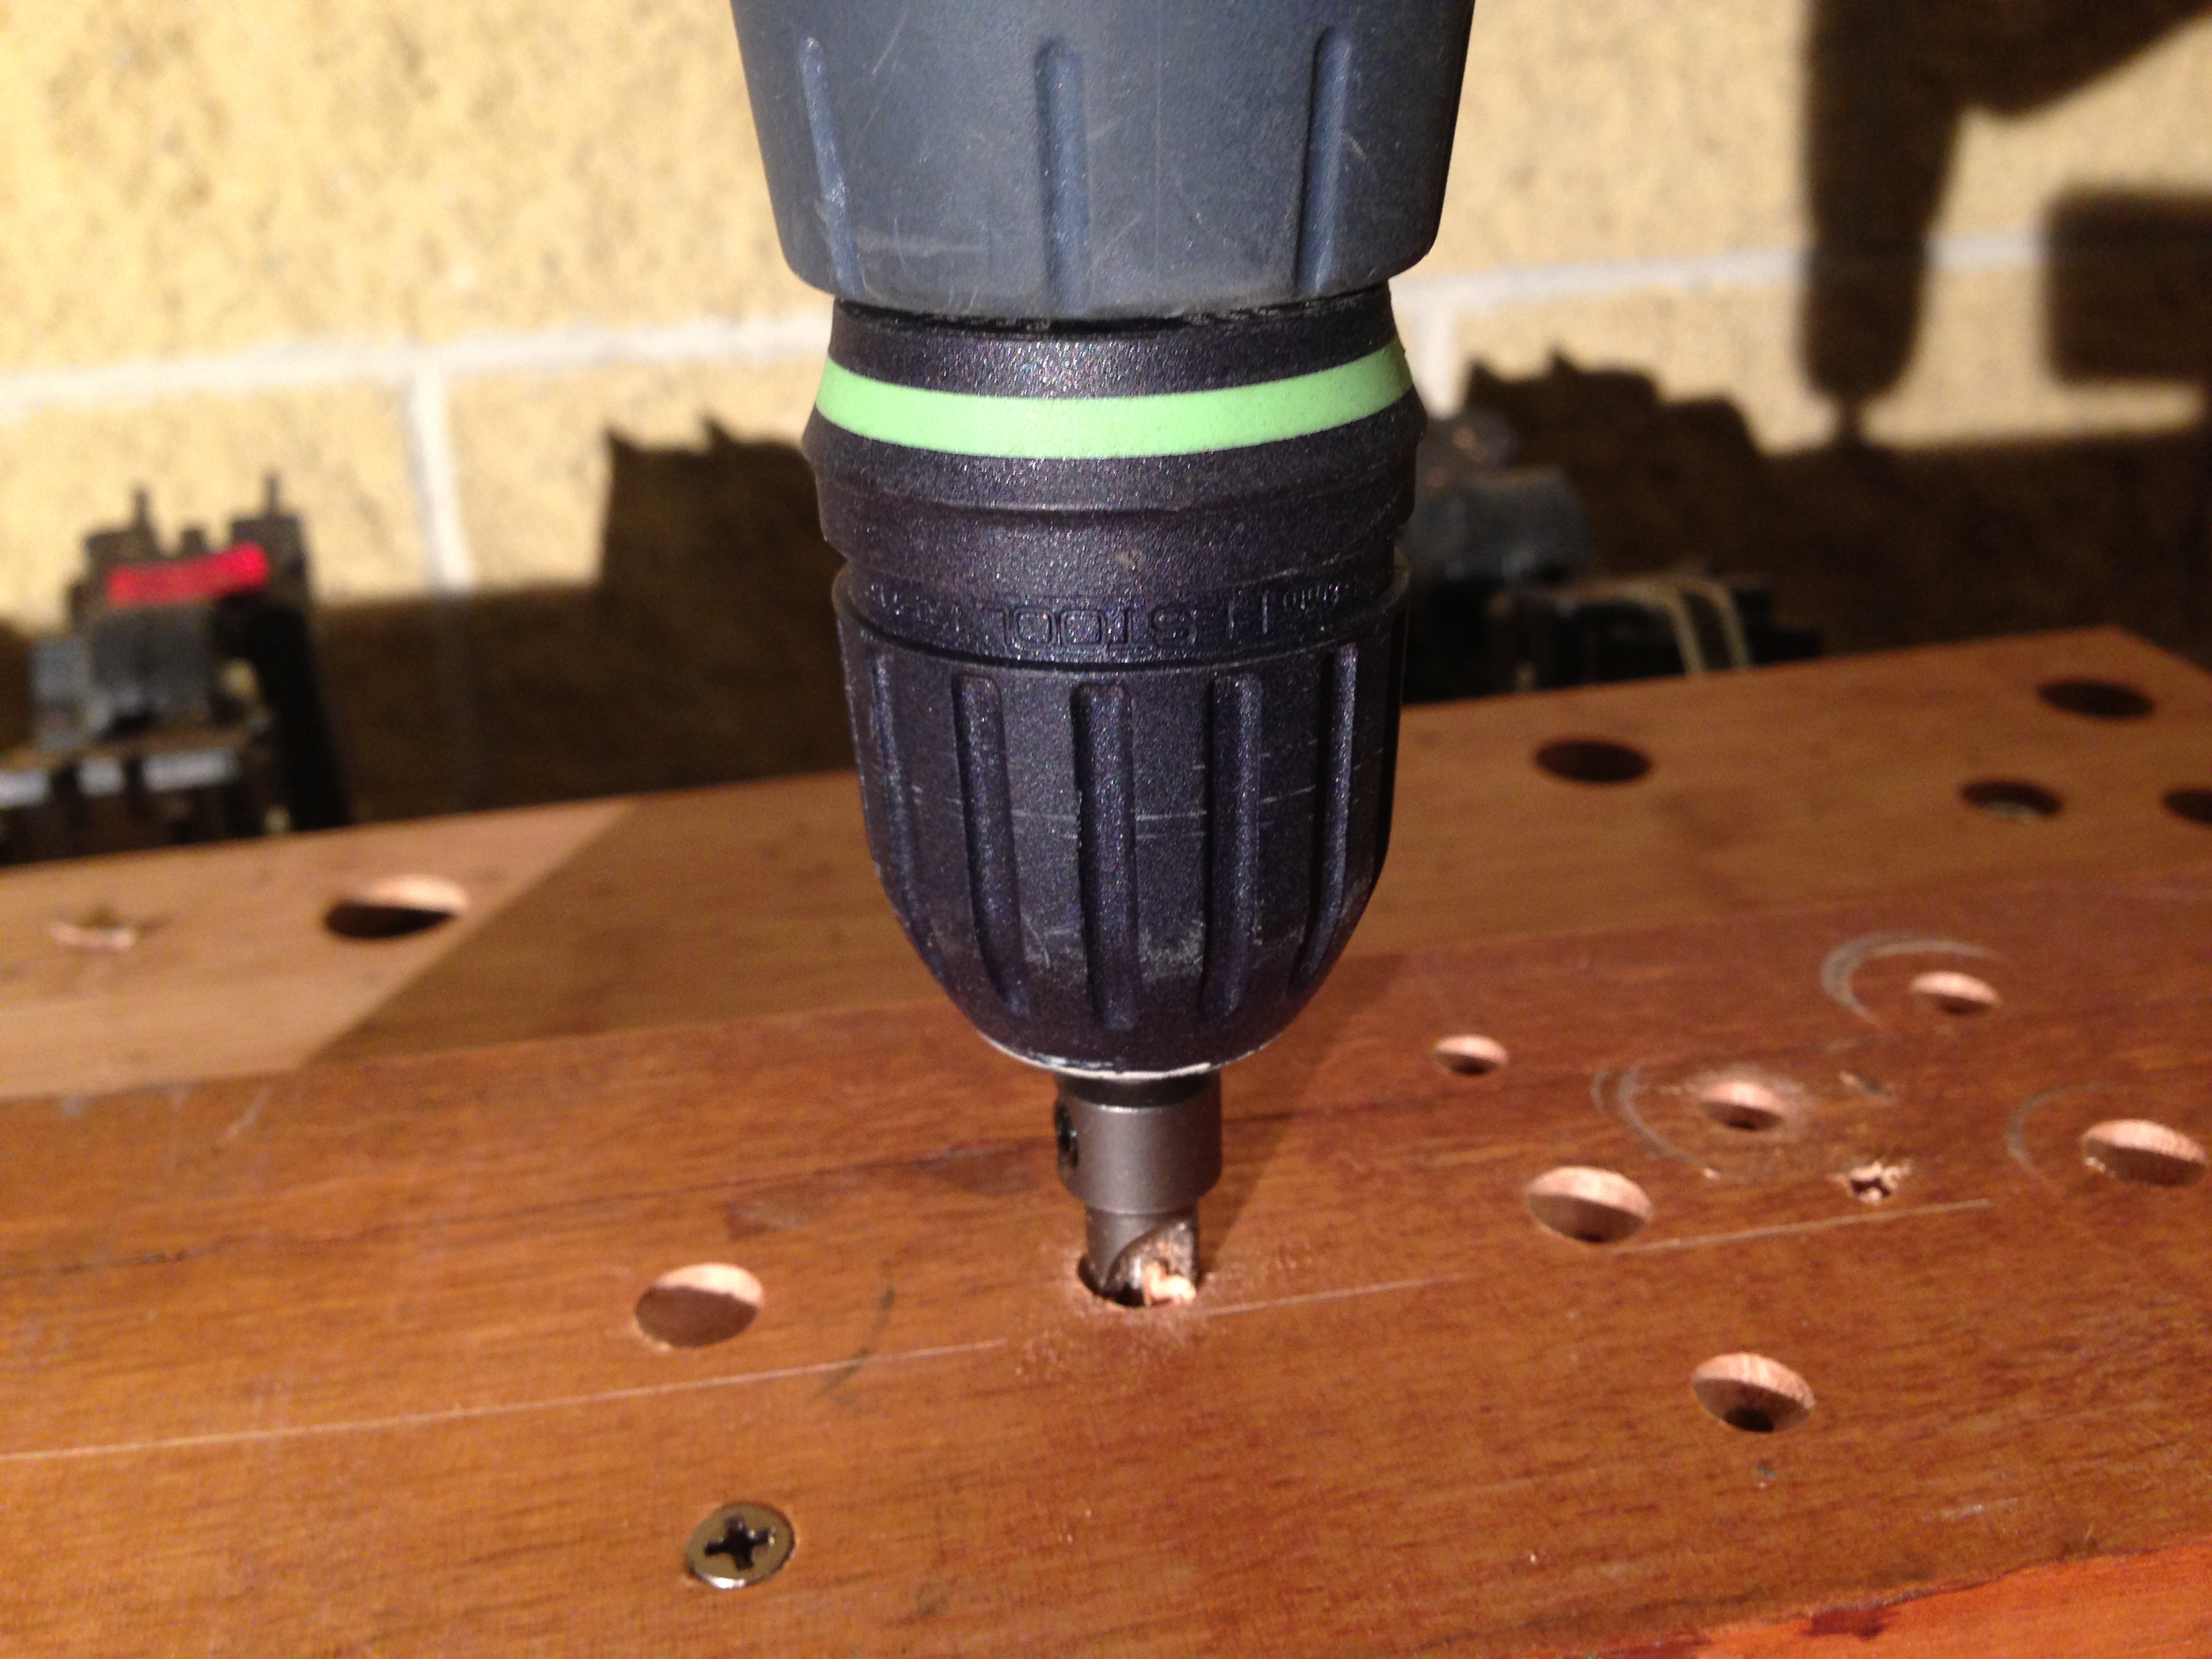
For the rest, well Amana Tool has a solution for you. Build an adjustable depth stop into the countersink bit. What’s more, ensure that it can be adjusted independently of setting the drill bit length/replacement of drill bit.
The depth stop has quite a range, so you can set it anywhere between having the countersink just cut the surface for the smallest screw head (and less), right through to being able to fully recess the screw head below the surface. Obviously, because you have that range you can cater for a number of different diameter heads, and different thicknesses.
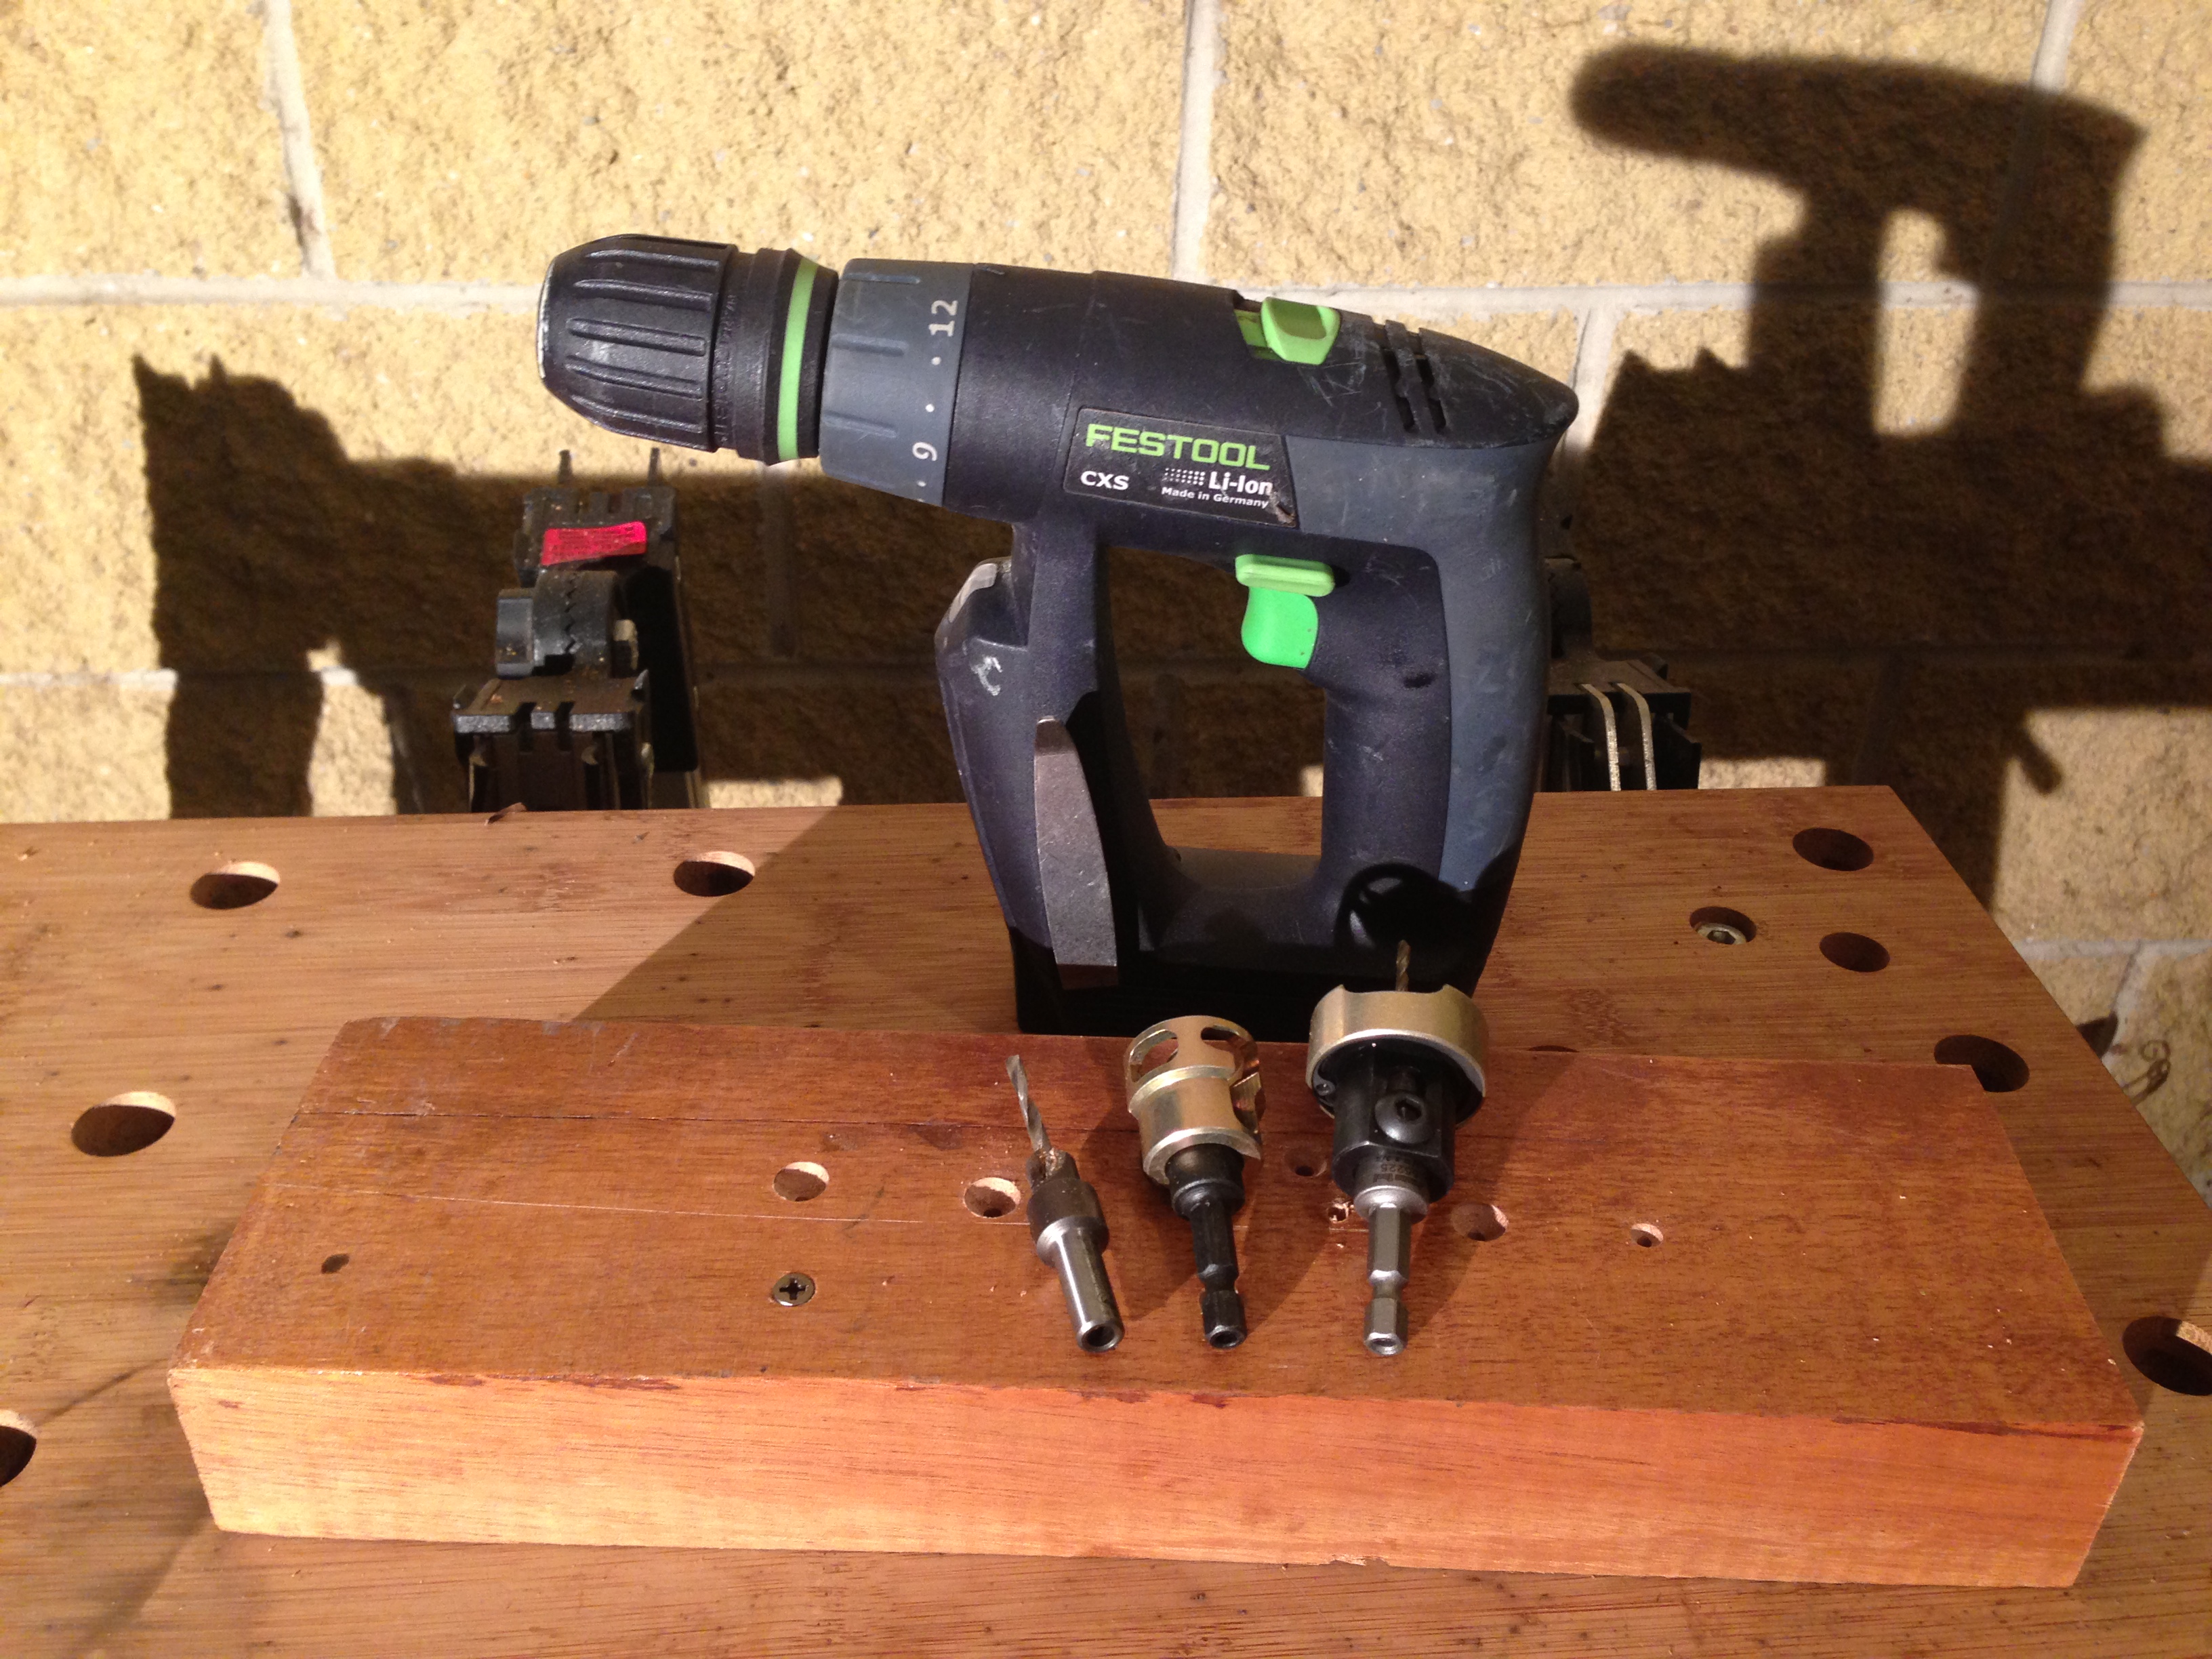
Plenty of chip clearance as you can see, and the hex bolt in the photo above is the height adjustment.
This gives you great consistency, hole after hole without having to use the eyechrometer, or having a piece of tape stuck to the bit as a crude depth stop.
However, you do have to consider the material you are drilling into – will it be affected by the spinning depth stop – be this any scratches, or heat effects from the friction? You could use tape or similar where the hole will be drilled, even a moveable thin plastic plate with an oversized hole in the right place, and compensate for this extra thickness in the height adjustment. That would be pretty effective.
Or you could get the non-marring carbide tipped countersinking with adjustable depth stop and thrust bearing bit from Amana Tool. Ok, it is not quite called that, but that describes the bit pretty well. Just call it the No-Mar Countersink
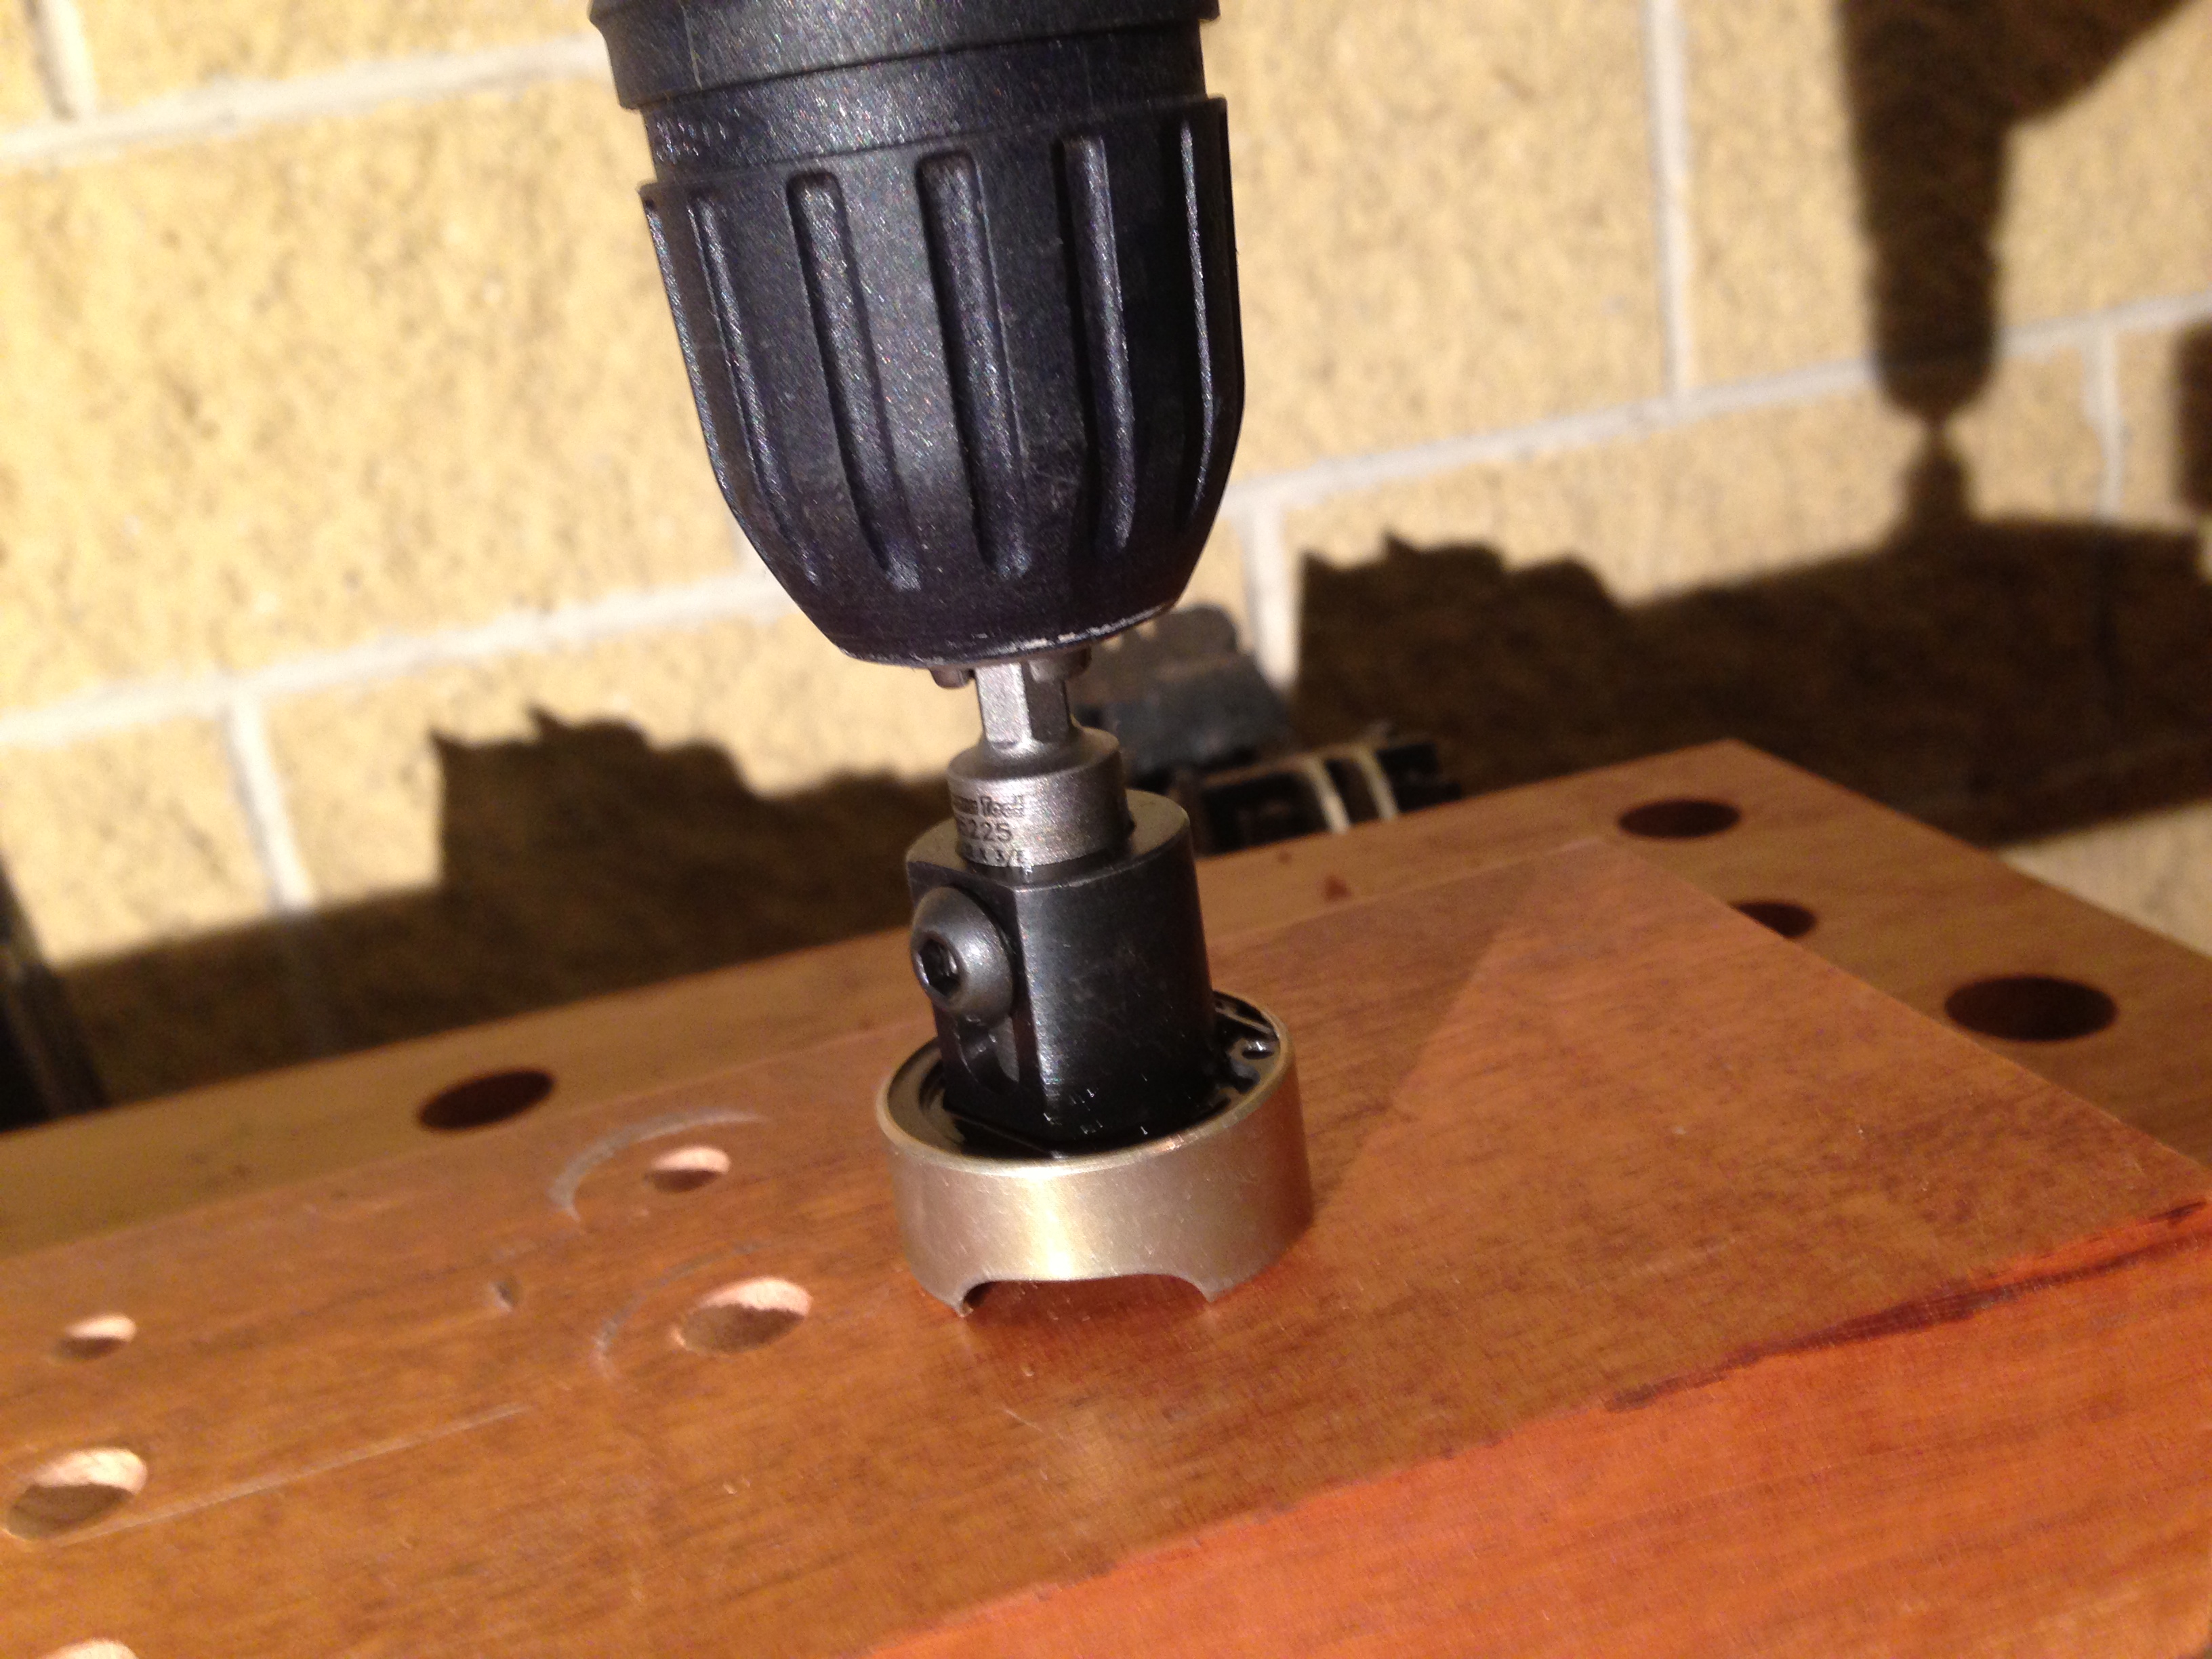
So what do we have here? Well it is a carbide-tipped countersink. It has an adjustable depth stop. The depth-stop is free-spinning on a thrust bearing, and it has chip clearance and the ability to adjust the depth stop independently of the drill bit. If you look closely at the final picture above, you can see a semicircle just to the left, and behind the bit. That was caused by the previous height-adjustable countersink.
This one, as the depth-stop touches the surface, the depth-stop stops spinning minimising the amount of friction heat and scratches in the surface. You could again go one step further, and carefully hold the depth stop so it isn’t spinning even when it touches the surface, but just keep fingers clear of the bit.
So that’s it, a range of countersinks, Amana Tool brand from Toolstoday.com
If you want to see them in action, I even shot a quick video for you. Don’t shoot me on the quality of photos or video – circumstances are still very much in flux (resolving soon, knock on wood) Drill is the Festool CXS btw.
SSYTC048 Who says drill bits are boring?
SSYTC047 GoPro High Speed Test
Jun 01, 2013
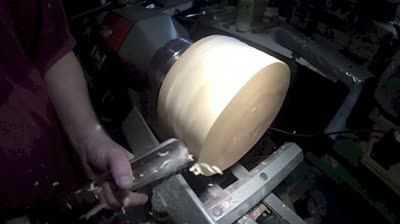
Ran a couple of tests with the new camera on its highest framerate setting. Interesting results.
On the lathe, there wasn’t enough light, but I have some new ones worked out for when I am filming for real – the shed will look like it is residing in the near vicinity of the sun, and will be about as hot, but it will be good for any high speed shots. Obviously, I won’t use those lights all the time, or even at full intensity, but they will be good when they are needed.
The GoPro is running at 240fps (frames per second), slowed to 12fps for the first test, and slowed to 25fps for the second (the lathe). The lathe was running at 1000RPM.
Dropped round on Robbo recently, as he has been working gluing up a segmented block to turn into a table leg, and was about to turn it for the first time. An opportunity not to be missed! He didn’t do a great deal on the first day – too many competing priorities, but even so, it’s a pretty good segmented unit!
It was also being filmed for the forums, so any comments were directed to that camera.
SSYTC046 Robbo’s baby lathe
Episode 92a Enter the Dado
Jan 30, 2013
Episode 92A Enter the Dado
A short (approx 5 min) version of the dado video, on the Amana Tool Dado from Toolstoday.com
Episode 92 Amana Tool Dado Blade
Jan 13, 2013
Episode 92 Amana Tool Dado Blade
Click here to see the blade at Toolstoday.com Don’t worry that the blade is not blue – the photo has not been updated yet to include their latest coating that is now standard on their blades.
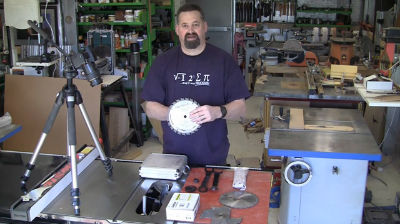
Episode 91 Amana Tool Melamine Blade
Nov 11, 2012
Episode 91 Amana Tool Melamine Blade
A blade designed to cut double sided melamine, by Amana Tool. Available from Toolstoday.com
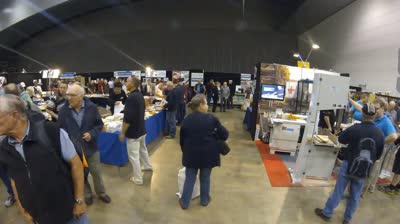
Episode 90 Woodshow 2012
Oct 28, 2012
Episode 90 Woodshow 2012
Episode 89 Woodshow Preview
Oct 26, 2012
Episode 89 Woodshow Preview
A whimsical movie ‘preview’ of the wood show, Melbourne 2012
SSYTC044 The Stan Band
Oct 20, 2012
SSYTC044 The Stan Band
Stan, Theo and others with an impromptu jam session at the wood show.
Episode 88 Pneumatics in the Workshop
Oct 14, 2012
Episode 88 Pneumatics in the Workshop
A brief discussion of compressed air in the workshop, and a look at a very flexible option!
Episode 87 DVR Remote
Oct 08, 2012
Episode 87 DVR Remote
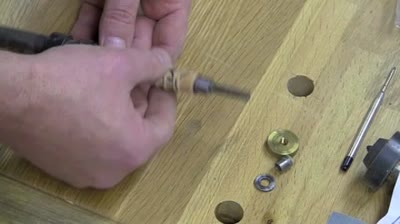
Upgrading and using the Nova DVR XP with the Remote and Retro kits
Episode 86 Commencing a Project
Mar 20, 2012
Episode 86 Commencing a Project Slideshow created in Keynote on the iPad Music by Rogue Traders, used with permission.
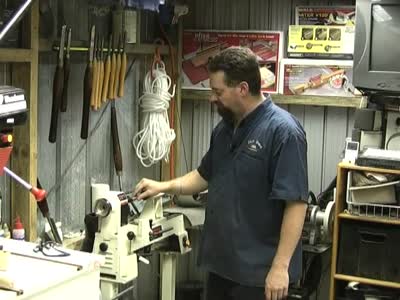
Episode 83 Nova DVR XP This is NOT a video about good lathe technique! It is a bit of a look at how good the DVR XP is in the hands of an amateur.
Episode 82 Work Sharp
Apr 25, 2011
Episode 82 Work Sharp
Episode 81 It’s Time
Apr 23, 2011
Episode 81 It’s Time
Episode 80 Branding the Brand
Apr 12, 2011
Episode 80 Branding the Brand
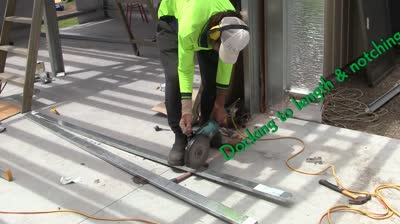
SSYTC041 The Angle Grinder Grows Up
Mar 02, 2011
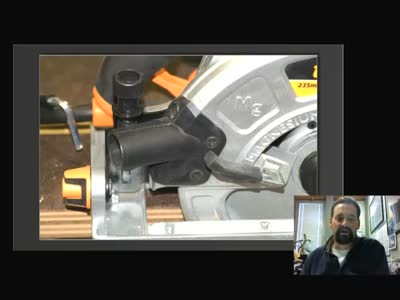
This is the AGP 125, in the Protool range, as seen at the Festool Media event.
Never really felt any real interest in working with concrete/tile etc, or owning a tool capable of doing so….until now that is.
This tool has two setups – a shrouding for cutting, and a second for grinding/smoothing. Both lend two significant advantages: dust control and operation control.
Tile/Concrete Cutter
For cutting/grout-line grinding etc, the tool is held on a sled that can also engage the Festool/Protool rails and controls the depth-of-cut. The orange-shield can be flicked open during grinding to see the end of the blade so you can stop right on a point when needed. The orange shield is just that – extra shielding, and improves the dust collection. The dust control doesn’t need much discussion – you cut, and the dust goes away. What is normally a very dusty operation (dry cutting) is instead rendered dust-free. The use of the Autoclean Vac is a particularly good idea – the amount of concrete dust the system collects would completely block a filter with a thick crust very quickly.
Dust-Free Concrete Cutting
From this angle, you can see the grinder component, and that the guide/shield is an attachment.
Blades
Some of the blades available – check out the kerf on the bottom one!
Grinding the Groutline
It will cut pretty straight when used hand-held, or dead straight when used with the Festool/Protool rail.
The Big Brother
And if you need more than the standard unit, there is also a big brother on its way.
Polisher
If you’ve finished with cutting, perhaps a polished finish would be in order. Once again dust free, and where it comes to control, the last thing you want is the edge of the surface grinding blade digging into the surface. (The equivalent of a belt sander doing damage if not controlled properly.)
Surface Treatment
Other than the powerful surface polisher blade visible here, there is the disk around the outside that can be set to a specific height to prevent edge dig-ins. Just inside that ring is a ring of brushes to control dust leak.
Real Smooth Shave
Grinding, polishing dust free – sounds like the way to do these jobs!
SSYTC041 The Angle Grinder Grows Up
If I had one of these, I’d have a very smooth/shiny shed floor!!
SSYTC040 Well that sucks
Feb 25, 2011
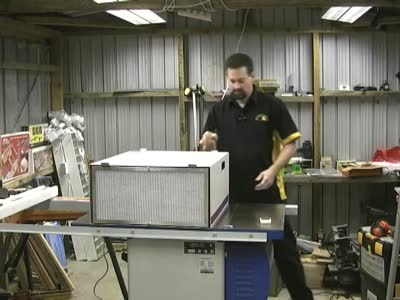
Jumping straight into the demos, the first item we looked at was the new Autoclean Cleantex. Looking very much like the CT36 with the extra dimension that it can put itself through a filter cleaning cycle.
The Autoclean (with superflex hose)
Demoing the Machine
The cleaning cycle can be dialed in so it happens at a frequency that suits the job being done. If doing a lot of heavy sanding of a powdery surface, you want a very frequent cleaning cycle, and it can become as infrequent as once every 2 1/2 minutes, or off altogether.
SSYTC040 Well that sucks
The cleaning cycle does disrupt the suction, but it is very quick so it is not an issue. There are a couple of parts to the cleaning. The airflow is momentarily reversed to blow through the filter, and at the same time there is a valve that literally thumps directly above the filter.
That is the theory – in practice I almost jumped out of my skin the first time the cleaning cycle activated! It is surprisingly violent (although it makes sense when you normally see a filter covered in caked plaster, MDF dust etc, just how hard it would be to get it off by being gentle). Given the airflow does reverse, it is more effective if the air doesn’t flow back up the tube, and as such there is a manually operated valve that can be attached to the front of the vac, so at the end of a dusty session, you can close the valve then activate the cleaning cycle to leave the vac ready to go the next time.
The first time I saw it activate, the vac had the new super-flexible hose that Festool have also just released, and seeing it jump significantly when the cleaning cycle hit is probably what added to the surprise just how violent the cycle is! I am very curious just how much wear and tear it places on the machine and the components. The filter is unique to the Autoclean as well – very flexible to get the maximum benefit from the heavy thump the Autoclean cycle imparts.
Flexible Filter
I did come away with two thoughts: first, the autoclean is impressive for those that need it – especially those doing sanding of plaster for example, and second, when I heard there was an Autoclean version (and not that long after I got the CT36), I thought it was a shame to miss out on that. Not any more – I don’t need that sort of self-cleaning vac for the work that happens in my workshop. The CT36, which is still one of the very latest models, is still my ideal solution. If I was doing concrete grinding or cutting, plaster work etc, then sure – the Autoclean would be invaluable.
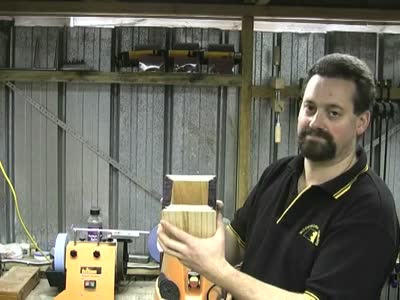
Episode 79 Wagon Wheel Manufacture
Feb 08, 2011
Episode 79 Wagon Wheel Manufacture
SSYTC036 SlabMaster
Oct 20, 2010
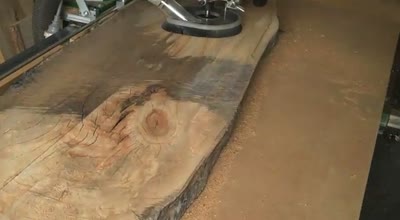
Short video of the SlabMaster in action (another brainchild of the inventor/engineer behind the Torque Workcentre and Router Master). In these shots it is running a specialised cutter (also manufactured by Yas Engineering (and in all fairness, these are engineers, not web authors – the machine is much more impressive than their website demonstrates!), but it can also have a sanding disk fitted. The size of the cutter is quite impressive – not something your average router could hope to run, let alone fit (about a 40mm shaft by the look). The depth of cut used each pass was rather aggressive (testing by a new owner) but the machine didn’t care – 10mm deep, about 80mm rebate in a cut, so an amazing amount of material being turned to dust in each pass.
Hmm – perhaps I should put one in my backyard and really demonstrate what it can do! All it needs is a slabbing capability, and we would be rockin’!
Depth-of-Cut
Episode 78 Using the Copy Attachment
Oct 12, 2010
Episode 78 Using the Copy Attachment
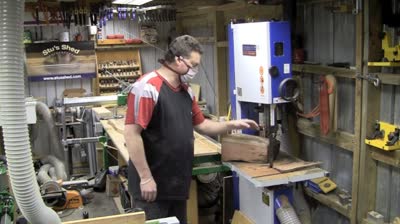
Episode 76 Resawing for Hidden Treasures
Oct 04, 2010
Episode 76 Resawing for Hidden Treasures
Episode 75 Wood River Spokeshave
Oct 01, 2010
Episode 75 Wood River Spokeshave
Episode 74 Flai U Blade
Sep 30, 2010
Episode 74 Flai U Blade
Episode 73 Crosscutting on the TWC
Sep 27, 2010
Episode 73 Crosscutting on the TWC
Episode 72 Feel the Burn
Sep 20, 2010
Episode 72 Feel the Burn
Episode 71 ROS on TWC
Sep 16, 2010
Episode 71 ROS on TWC
Episode 70 Tools on the TWC
Sep 15, 2010
Episode 69 Torquing Degrees of Freedom
Sep 13, 2010
Episode 68 Walko Modification
Sep 07, 2010
Episode 67 Tour of Dust Collection System
Sep 06, 2010
Episode 66 Tormek DBS22
Sep 01, 2010
Episode 66 Tormek DBS22
Episode 65 TAG
Aug 27, 2010
Tormeks are GO!
Episode 64 Hall Table Finishing
Aug 11, 2010
Episode 64 Hall Table Finishing
Episode 63 Hall Table
Aug 10, 2010
Episode 63 Hall Table
Episode 62 Talking Pattern Copying
Aug 02, 2010
Episode 62 Talking Pattern Copying
Episode 61 Talking Sign Writing
Jul 23, 2010
Episode 61 Talking Sign Writing
Episode 60 Festool BS105E Belt Sander
Jul 02, 2010
Episode 60 Festool BS105E Belt Sander
Episode 59 Circle Cutting on the Torque Workcentre
Jun 30, 2010
tbc
Episode 58 Mustang Sally
Jun 28, 2010
SSYTC026 NTX
Jun 04, 2010
SSYTC026 National Tradesman’s Expo
Episode 57 Surfacing, Sanding, Cyclones and Workgear
May 05, 2010
Episode 57 Surfacing, Sanding, Cyclones and Workgear
Episode 56 Surfacing on the Torque Workcentre
Mar 16, 2010
Episode 56 Surfacing on the Torque Workcentre – overhead router
One of the really impressive features of the TWC, and one of the easiest operations – surfacing. My TWC can handle a slab up to 2000 x 1300mm (78″ x 51″), and any size down to around 1″ x 1″ (or in other words, no limit on minimum size, unlike a thicknesser, planer (jointer) or drum sander). Future views will cover a whole range of techniques – keep tuned!
SSYTC023 Visit to Rockler, Denver
Mar 04, 2010
SSYTC22 Interim Shop Tour
Feb 15, 2010
SSYTC28 Small Torque Surfacing w Vac Clamp
Feb 15, 2010
Episode 55 Assembling the Torque Workcentre
Nov 25, 2009
1 1/2 hours condensed into about 3 minutes (30x normal speed) giving an overview of the assembly of the Torque Workcentre. Note that this was done without any instructions at all (given courier issues). Blink, and you’ll miss it!
SSYTC025 Stress Relief Plane
Oct 31, 2009
SSYTC017 Larry does Doughnuts
Oct 31, 2009
SSYTC016 Larry makes Aztec Art
Oct 31, 2009
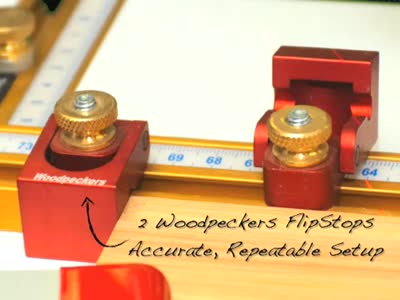
SSYTC022 Using the Stops
Oct 31, 2009
SSYTC014 Larry Carves an L
Oct 31, 2009
SSYTC020 Stu does some Surfacing
Oct 31, 2009
SSYTC012 Lazy Larry Woodworks Shed Tour
Oct 31, 2009
CNC Shark
Oct 22, 2009
SSYTC017 SawStop at Melbourne Woodworking Show
Oct 15, 2009
Episode 54 Dust
Oct 15, 2009
Episode 54 Dust
Talking about protecting yourself from dust. The cloud gets generated by taking the Festool Termite to a piece of MDF.
Sorry about the pelting rain in the background – for a country in a 10 year drought, it seems to rain at very inopportune times!
This video features the Dust-Bee-Gone and Microclene MC1000 air filter. The work is done on top of the Walko Workbench.
SSYTC015 – The Walko Workbench
Sep 27, 2009
As initially discussed here, the Walko Workbench from Ideal Tools can be set up in a number of different orientations, depending on your requirements. In my case, and as seen here, it provides a narrow workbench that I can easily break down and remove to free up space, or repurpose easily to a different role (assembly table, panel saw etc) It is covered in dogholes which is excellent when working with the low profile Walko surface clamps.
Episode 53 Contrast Timber Inlays
Aug 20, 2009
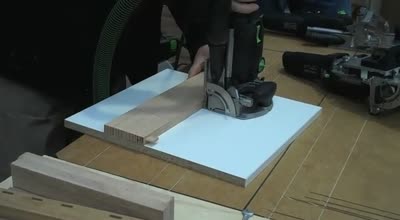
Episode 53 Contrast Timber Inlays using a router. As originally detailed here, this kit is available from Professional Woodworkers Supplies, and includes Woodpeckers templates and a Whiteside spiral solid carbide router bit.
Now I’m sure that name makes little sense to anyone, so let’s clarify.
I grabbed the little digi-camera and shot a quick look at the Rockler Bench Cookies in action. They can be seen securing a board while edge routing with a hand-held router, while sanding with a ROS (random orbital sander), and while using the Blowfly Sander and Spider Sander, both from T&T Design. There will be more on these 2 sanders shortly.
During the video, you’ll see the blowfly looking like it is catching my shirt- it isn’t, it is just generating quite a breeze, but it will be something I am more aware of in future. Also, you’ll see me generating a ton of dust without breathing protection. I have a high volume air cleaner (Microclene MC1000) directly overhead, and during the dust production, I wasn’t breathing, so hopefully that puts anyone’s safety concerns at ease!
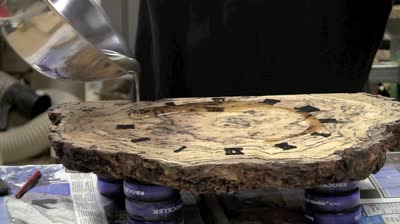
SSYTC007 Preparing a Burl
Jul 26, 2009
Taking a slice of burl, and getting the surface flat has traditionally meant I have broken out the belt sander which (unless it is a particular shade of green) is NOT a precision machine. Some will use handtools – planes, scrapers etc to get the surface flat, but circumstances (and a complete lack of time) means I tend to select powered (electron murdering) machines, and the drum sander is particularly suited to the task.
SSYTC006 Miter Gauges
Jul 21, 2009
Not that long ago, I posted Shed.TV episode 51 on the Tablesaw, and in it there was some discussion about Mitre Gauges (or Miter Gauges, which ever is your preferred spelling!)
One of the site’s readers (I’ve been combing my emails to find out who!) pointed out that there was a better way for attaching the Mitre Gauge, that I hadn’t picked up on, so this YTC episode is an addendum to the Shed.TV video, and quickly shows a technique that I’m bit embarrassed that I didn’t know!
SSYTC009 New Domino Jig from Terry Forgarty
Jul 18, 2009
Terry Fogarty runs the Domino and Furniture courses for Ideal Tools, and having owned and used the Domino in a production setting since they first went on sale just over 3 years ago, he is particularly experienced in their use, and has developed a number of jigs to extend its capabilities.
This is his latest jig, and is a clever, and simple way of using the domino to create adjustable shelves (similar to the old dowel hole method typical in many commercial furniture carcasses), but it produces very consistent shelf holes very easily and accurately. He finishes it off with home-made shelf supports that look so much better than the commercial plastic or metal ones.
SSYTC004 Ideal Tools – Festool Mecca
Jul 18, 2009
SSYTC003 Ideal Tools – Festool Mecca
Jul 18, 2009
Ideal Tools – Festool Mecca in Williamstown, Melbourne A perfect synergy of sales, training, and getting real hands-on experience with the next potential addition to your workshop.
I really enjoy this approach. There is no sales pitch here – the tools either sell themselves, or they don’t. You get to see the tools in a real work environment, get to use the tools in the same, and get professional training in their application. I’m not even getting the point across well – it sounds like there is an undercurrent here of sales and marketing, and that is far from reality.
It came across as a training facility, running really interesting courses that happen to make available the whole Festool range of tools, and it just happens that you have an opportunity to buy any Festool you need. It isn’t even a shop – the physical aspect of Ideal Tools is a training facility, and getting in is through the courses, or by appointment. Ideal Tools has a strong web presence, and purchasing can be done primarily through their website. They also have a bonus scheme, where you earn points from purchases that can be used to purchase other items from their store.
This is the workshop/training facility that will be used for the Hall Table course I am attending from 2nd August for 6 weeks (of Sundays). There are still some places available, so get in quick if you want to be a part of it. What I am looking forward to on this course is that it is not formulaic, and it doesn’t produce a bunch of tables that all look the same. You are encouraged, and supported to try different modifications to the base design, different materials (or at least different timbers), and to produce a table that will suit your needs, and an opportunity to express yourself in a fine furniture form.
An introduction to a bit of an experiment called “The Stu’s Shed YouTube Chronicles”
Raw, unedited, short clips, the video equivalent to the micro-blogs of Twitter and how they are supplementing the main content of this website/blog. Like Twitter, this is an experiment to see if it is a worthy supplement to Stu’s Shed.
Episode 52 Frontline Interlocking Clamp Clamp Pricing: 900mm $363 inc GST, 1220mm $399 inc GST, both with free delivery in Oz. That is a lot cheaper than I realised!
Episode 51 The Tablesaw
Jun 16, 2009
Episode 51 The Tablesaw
SW09 – Fire in the Galley
May 06, 2009
Fire in the Galley. A short slideshow video of the result of a simple fire, and the resulting damage (in a very short space of time).
I attended this fire after the actual incident (we were on the ship next door) to document the situation. Note the result from the heat that quickly resulted – especially my favourite – the speaker that got so hot that the bungee cord holding it down has actually pulled its way through the speaker itself.
The sort of heat, and damage documented here is by no means uncommon in a typical fire.
Formats available: MPEG4 Video (.mp4), Flash Video (.flv)
(Right-click, and select “Save Link As”) Best video quality is achieved by downloading then playing the mp4 version.
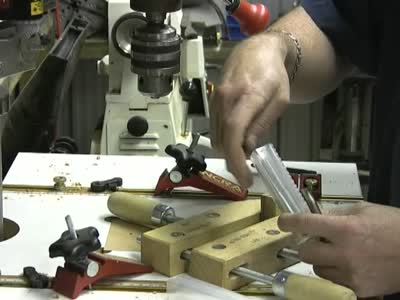
Drill Press Laser
Apr 28, 2009
This is a short product video I produced for PWS to showcase their Drill Press Laser.
Kreg Jig from Carbatec, Pro Drill Press Table from Professional Woodworkers Supplies.
Episode 48 Rejuvenating Machine Tops
Apr 06, 2009
Episode 48 Rejuvenating Machine Tops.
Using TopSaver and SilverGlide to remove rust, lubricate and protect the top of a major shop machine.
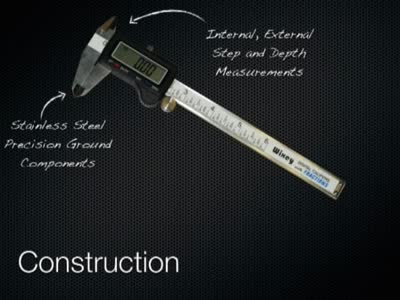
SSYTC003 Wixey Digital Calipers
Mar 24, 2009
SSYTC003 Wixey Digital Calipers
Short promo developed for the Wixey Digital Calipers
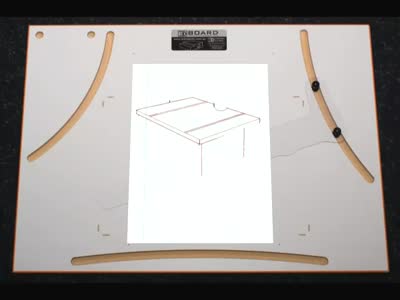
Episode 47 3D Drawing Board and the Smartpen
Mar 04, 2009
Episode 47 3D Drawing Board and the Smartpen
A quick demonstration of two technologies – one useful for quick visualisations of ideas in 3D, the other with the ability to transfer handwriting and drawing into a realtime digital form.
MagSwitch technology is a revelation in my workshop – changing how I work, the jigs I make, even influencing the decisions on major item acquisition.
Episode 45 Zero Clearance Inserts
Feb 21, 2009
Episode 45 Zero Clearance Inserts for the Tablesaw
Making Zero Clearance Inserts isn’t a particularly difficult task, but it is always good seeing someone else do it first! I have come up with a bit of a novel approach to how to safely do the cut. The traditional method is to use the fence to help hold down the new table insert as it is being cut, but I’ve never been really happy with that solution. With the use of my recent MagJig enabled jig, I have a much more secure and safe way to conduct the evolution.
Episode 44 Yesteryear
Jan 05, 2009
Episode 43 Triton Steel Cutter
Dec 10, 2008
Episode 43 Triton Steel Cutter – Making a Noticeboard
Although not currently available in Oz, these are still (afaik) available in the US etc, and they are still out there if you come across a used model. In any respect, for the project I was working on (a noticeboard) this was the right tool for the job. The Steel Cutter came out while Triton was still owned by Hills, and seemed a very strange direction for Triton to be going at the time.
Episode 42 Lidwig Clamps
Nov 21, 2008
Episode 42 Lidwig Clamps
Australian designed clamps, with 100+kg pre-settable clamping pressure and one-handed operation. Made from either glass impregnated resin, or aluminium.
Episode 41 Wetstone Jigs and Stone Dressing
Nov 12, 2008
Episode 41 Wetstone Jigs and Stone Dressing
The wetstone sharpeners are just one part of the system – the jigs that are available make it a very versatile machine. This video covers both some of the jigs that are available, as well as dressing the stone, so it is flat and parallel to the jig support arm.
Episode 40 SawStop at the Melbourne Wood Show
Oct 28, 2008
Episode 40 SawStop
Some very impressive technology for the woodworking workshop. As seen demonstrated at the Melbourne Timber and Working with Wood Show, October 08.
The buggers also give me a bit of stick while filming Thanks Brendan!
Episode 37 GMC 180mm Power Planer Keep an eye out for the magic couch, and the blooper track at the end….
I had an operator problem (forgot to turn on the vac), and had to reshoot some of the video. I don’t get paid enough to worry about perfect continuity….
Bloody good tool though! For $199 it’d make a great Father’s Day present.
Episode 36 Triton Bandsaws
Aug 26, 2008
Episode 35 2nd Stage Dust Collector
Aug 26, 2008
Episode 34 Woodpeckers Saw Gauge
Aug 18, 2008
Episode 33 Review of Triton 2300W Circular Saw
Aug 06, 2008
Episode 33 Review of Triton 2300W Circular Saw
Episode 32 Battle of the Blades
Aug 05, 2008
Episode 31 Tour of Dust Extraction
Jul 18, 2008
Episode 30 Pro Drill Press Table
Jun 18, 2008
Episode 29 Carbatec Air Filter
Jun 13, 2008
Episode 28 Tour of the Shed During Upgrade
May 12, 2008
Tour of the Shed during the recent upgrades, so this is a look at Stu’s Shed 1.7
When we finally get to 2.0 (in another 5 years or so), I might do another one then!
Also includes a look back at a very short video tour I did a few years ago, well before Stu’s Shed became….
Episode 27 Noise in the Workshop
May 07, 2008
Noise in the Workshop. This is part of Safety Week 2008, and is a brief discussion about the noise produced by different machines in the workshop.
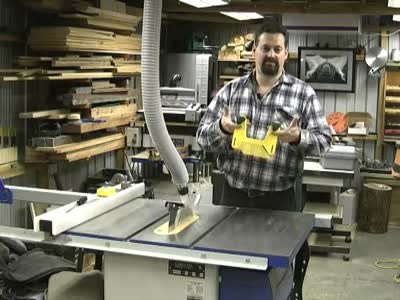
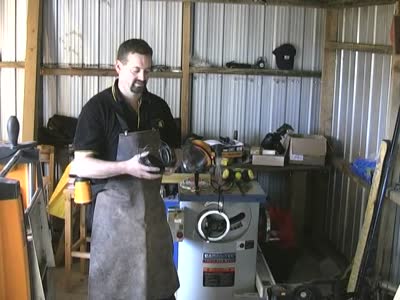
Episode 26 Safety Week 2008 Introduction
May 05, 2008
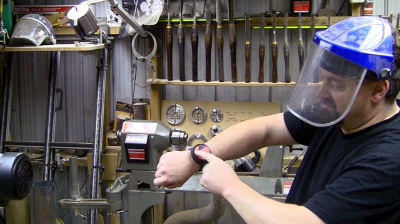
Introduction to Safety Week on the Wood Whisperer Network 2008
A quick introduction and discussion about personal safety equipment, not only using it, but ensuring that the solution actually works for you so that you actually use the equipment when needed, rather than leaving it sitting on the shelf as being too cumbersome or uncomfortable to bother using.
Also too – the first (brief) look inside Stu’s Shed 1.7 as it continues to undergo its physical transformation.
Episode 25 Sharpening Series Watercooled Grinding Stone
Apr 21, 2008
This episode looks at watercooled grinding stones, such as the Triton, Scheppach and Tormek. In this instance, a $A199 Triton Wetstone Sharpener is used to produce an edge on a plane blade of HSS.
It also happens to be the last video shot in the old shed, so a bit of nostalgia there!
Episode 24 Tool Maintenance Cast Iron and Sanders
Apr 03, 2008
Episode 24 Tool Maintenance Cast Iron and Sanders For anyone not living in absolute ideal conditions, cast iron is not only magnetic, but “magnetically” attracts rust to it, and so it is important to both protect against rust, and be able to remove any ‘infection’ as soon as it starts.
SSYTC002 Nostalgia – an early woodworking video!
Feb 27, 2008
SSYTC002 Nostalgia
Going though some old files, and came across this 7 second clip of a modification I made to the GMC thicknesser. Guess this actually qualifies as my first woodworking video (despite its short length).I’d forgotten the clip even existed!
Not sure of its vintage – probably 2004 – 2005. Not that long ago, and look how online video quality has improved
Episode 23 Wixey Digital Planer Height Gauge
Feb 26, 2008
This is the third of three videos looking at the new Triton 15in Thicknesser. This installment shows in detail using the unit to make a moulding. A fourth video looking at fitting an aftermarket digital height gauge will be available in the near future.
This is the second of three videos looking at the new Triton 15in Thicknesser. This installment shows in detail the fitting of the moulding blades.
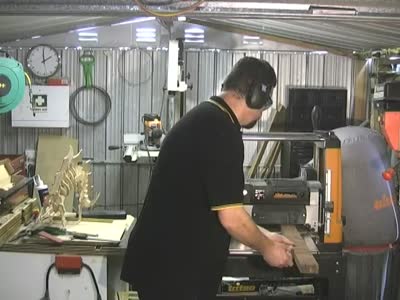
Episode 20 Triton 15in Thicknesser – Planing
Feb 01, 2008
Triton 15in Planer Thicknesser Moulder. This is the first of three videos looking at the new Triton 15in Thicknesser. This installment gives an overview of the unit, and looks at its planing/thicknessing function.
Episode 19 Router Bit Review Raised Panel Bit
Jan 25, 2008
Raised Panel Bit. To complement the rail and stile bit featured last month, the raised panel bit is used to produce the panel that fits into the frame created by the rail and stile. The result is a very traditionally styled raised panel, used for cupboard doors, drawer fronts, and even the sides of some types of furniture.
iTunes & Podcasts
Jan 21, 2008
Thought I might scope out what other woodworking podcasters were out there as I haven’t looked for a little while. There are a few new ones on the scene, majority seem to be commercially centred, which can be a good thing too – companies using the newest tools available to them for getting the message out, but in a non-instrusive way, and voluntary in the sense that you can sign up for their info, rather than having it force-fed through traditional advertising channels.
One thing that I did notice, which is pretty cool, is Stu’s Shed is the 3rd most popular woodworking podcast (worldwide!), led only by the Wood Whisperer (who is now podcasting and blogging professionally), and Woodworking Online (a podcast by Woodsmith Magazine).
So thanks for watching everyone!
Episode 18 Router Bit Review Rail and Stile Stacked Bit
Dec 19, 2007
Stacked Rail and Stile Router Bit. As discussed very recently on Stu’s Shed, this is a very impressive router bit, and has sold me on the concept of stacked rail and stile bits, rather than having two separate matched bits to perform the same job.
Episode 17 Dressing Timber
Dec 04, 2007
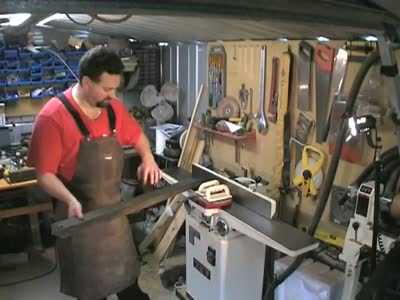
Episode 17 Dressing Timber.
In this episode, we are having a look at dressing timber so that it is flat/straight and square, ready for a project. In this case, we are using some reclaimed Jarrah from an old deck, but the principle is the same if you are preparing timber that is DAR (dressed all round) from a timber yard, or hardware supply shop, or even if you have prepared your own board from raw timber.
DAR stock can still have warps, cupping and twists, so it is definitely beneficial to go through the motions of actually dressing the timber yourself to ensure it really is straight and true (and square!).
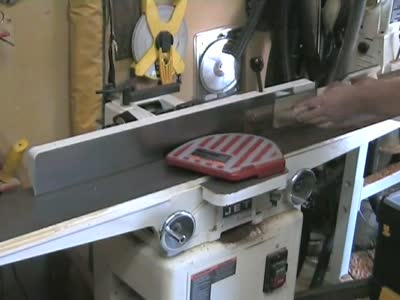
The two units used here are the Jet 6″ deluxe longbed planer (jointer in the US), and then the Triton 15″ Thicknesser (planer in the US).
Episode 16 The Router Table
Nov 29, 2007
Episode 16 The Router Table.
The router is an incredibly versatile tool, capable of many, many tasks. One method of using the router is to mount it underneath a table, so the router bit is exposed, and bringing the workpiece to the router, rather than the other way around.
This video looks at using the router table, using the router table fence as well as bearinged versus unbearinged router bits. It is a followup to the blog post on Stu’s Shed “So just what is a Router Table?” on the 25th November 07
Episode 15 Metal Detection in Reclaimed Timber
Nov 19, 2007
Episode 15 Metal Detection in Reclaimed Timber
I came across this security device recently and to all intents and purposes, it is exactly the same as the metal detectors sold in woodworking shops (for 2 – 3 times as much). This video is a brief look at the detector in action (plus some traps for young players (myself included)).
Squares (or tri-squares) are an essential part of every toolbox. In this episode, we have a brief look at various types of squares, from the cheapest through to some superb versions that are available. We also look at how to test a square for accuracy before buying it.
Particularly featured is Incra’s Guaranteed Square, available from Professional Woodworker Supplies. Their guarantee is that the angular accuracy, from heel to toe of this square is accurate to within 1/1000th of a inch, making for a square with incredible accuracy. Cost is $A112.50. It is made from a hardened material (not sure what the base material is), which has been anodised for durability and finish. Also from Professional Woodwork Supplies is a Wixey Digital Angle Gauge. Not strictly a square, but it is easy to use it as such, and accurate to within 0.1 degrees. This one will set you back $77.50. Since getting to use both these around the workshop, I have found them essential tools, and both can now be found in my shop apron, as they get used constantly.
From Australian Wood Review magazine is their multi-square. This is an accurately machined 45-45-90 set square, and is excellent for both measuring and checking angles. It is excellent for setting blade and bit heights, as well as checking for square (and checking other squares). Cost is $35 for the imperial version (currently on special), and $45 for the metric version. Drop this one on the floor, and you don’t have to think about buying a new one!
Finally, for those who love quality hand-made hand tools there is a Colen Clenton square, with an ebony stock, and a recalibratable blade. This is a fine tool, beautiful to look at and use. They are available through the HNT Gordon website.
BTW, sorry about the quality at the start of the video – think a camera is definitely needing a service. Hope the other videos shot around the same time are not too badly affected
Update: Having a look at some of the feedback, and yes, there are a whole heap of other squares on the market, including some combination squares that are apparently very accurate. Unfortunately, I can only review what I have, or have come across (or in a couple of instances were generously supplied), which is pretty much the same situation for many woodworkers. If other suppliers/manufacturers would like to have their items included in a side-by-side review, please drop me an email.
Episode 13 A Footy Trophy
Oct 24, 2007
Episode 13 A Footy Trophy.
In this episode, I needed to extend the life of a Footy Tipping Trophy by adding some room for more winner plaques.
We go from sketching the initial shape, to roughing it out on the bandsaw, sanding to final dimensions on the disk sander and spindle sander, and finally round over the edges on the router table.
Episode 12 Router Sign Writing
Oct 08, 2007
Episode 12 Sign Writing with the Router.
It is one of those things that many people want to do when they first buy a set of template guides for their router, and see the picture of router-carved words on the box. Or when you come across a well-made wooden sign, and you look at it wondering – How did they do that?
You don’t have to be an expert with carving chisels, and have the patience of a saint, so long as you have a reasonable kit of sign writing templates, a guide, and a router with a low centre-of-gravity (the small, cheap ones work really well)!
This video covers a few related topics, including templates and template guides, a sign-writing (commercial) jig, modifying a router (ok, I cut the plunge springs down), and of course, demonstrating using the jig.
Episode 11 Router Bit Carbitool Wheel Cutter
Sep 19, 2007
Episode 11 Carbitool Wheel Cutter
Carb-i-tool is a Melbourne manufacturing company, producing very high quality router bits in a myriad of styles and designs. One of their rather unique designs is the Wheel Cutter. It comes in 3 sizes – 40mm, 50mm and 60mm. It is not strictly a router bit, as it is designed to be used in the drill press, and quickly and easily turns offcuts into toy wheels!
The wheels have a nice profile, with a rounded rim, and indented hub. The bits have a large chunk of tungsten carbide, and will produce 1000s of wheels!
Carb-i-tool router bits can be found at a number of outlets, including The Tool Centre, Mitre 10, and their stand can also be seen (with a large range of bits) at many of the Working with Wood Shows. If you wat to find a supplier near you, contact Carb-i-tool by email at sales@carbitool.com.au, or through their website www.carbitool.com.au. You will find their current catalogue online there as well. One of the things I find very impressive is the fact that if there isn’t a bit there that you specifically need, they can make any other profile to order. They also offer a sharpening service for you router bits and saw blades, which from memory is in the vicinity of $5 for a router bit.
This is a new segment for Stu’s Shed – Router Bit of-the-month. Credit for the concept actually goes to Matt’s Basement Workshop, an American Podcast you can also find on iTunes.
Carb-i-tool have very generously supported Stu’s Shed with this segment, and have provided a number of bits that we will review over the coming months.
The background noise in the video is rain – can’t seem to do much about it – the only times I get a chance to shoot some footage recently seems to be the only time it rains around here! Seeing as we are in the middle of a very bad drought, I guess we can’t complain, but the timing is…..unfortunate! Been chatting with one of my colleagues, and I’m going to play more with how I record audio in the future. I guess while we are learning more about woodworking, I’m on quite an interesting learning curve about video production!
When all’s said and done, hope you are enjoying the results, and the authenticness of this being a real video, shot in a real shed….our own little reality show….I should have called it “Little Brother”.
Episode 10 Triton Spindle Sander
Sep 10, 2007
Episode 10 Triton Spindle Sander
Another horse out of the Triton Stables, the Spindle Sander is an excellent addition for the workshop. Taking spindle sizes from 13mm (1/2 inch) to 76mm (3 inch) all those difficult sanding projects can now be easily performed and is an excellent complement to the belt and disk sander.
The sander has a cast iron top, dust port for the all-important dust collection, and onboard storage for all the different sized spindles, and associated surrounds.
Apologies for some sound and lighting issues with this episode – the technical issues have since been resolved (one shorting/dying new battery caused a lot of grief until it was discovered and replaced).
Episode 09 Router Bit Review Compression Bit
Aug 21, 2007
Episode 09 Linbide TCT Compression Bit
Episode 08 Triton Wet and Dry Sharpener
Aug 17, 2007
Episode 08 Triton Wet and Dry Sharpener
Episode 07 Triton 13in Planer Thicknesser
Aug 16, 2007
Episode 07 Triton 13in Planer / Thicknesser
The Triton 13in Planer/Thicknesser is an interesting addition to the range of Triton power tools.
It is a 2.5HP, 8000 RPM (16000 cuts/min) 330mm x 150mm (max size of stock) thicknesser. It has some quite unusual features that are worth noting. There is a cutterhead lock which provides extra stability for the cutter head by locking onto the 4 uprights, active dust (chip!) extraction, and a planing height gauge which gives an indication of how much material will be removed before passing the stock into the thicknesser.
This video isn’t intended to be an instructional one on the specifics of thicknessing stock (that will be done down-track), but hopefully it will give you a fair idea about what the Triton thicknesser is all about.
Episode 06 Bandsaw Circle Cutting
Jul 28, 2007
Episode 06 Bandsaw Circle Cutting
Bandsaws have always been great at cutting curves. With a simple jig, perfect circles are a breeze. This video demonstrates this homemade jig, and also briefly shows some minor mods that I have made to my 14″ Jet Bandsaw to keep the tyres clear of sawdust.
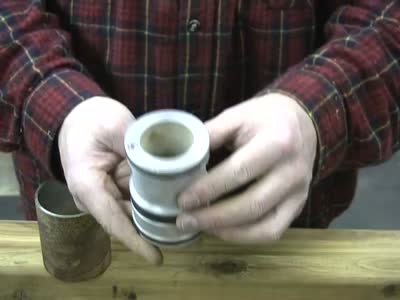
Episode 05 Wooden Thread Cutting
Jul 27, 2007
Wooden Thread Cutting
Cutting a thread in metal is a relatively easy affair, especially with the thread-chasing tools available for lathes. How cool would it be, to be able to easily produce a wooden thread – imagine all the applications! Tools, height adjustable stools, toys, wooden vice etc etc
This video demonstrates a very, very simple tool for creating male and female threads.
Purchased from Carbatec, Melbourne – cost was about $65 (for the 1″ version). The price varies depending on the diameter of the thread, with the 1/2″ going for about $60 to the 1 1/2″ for about $70.
Episode 04 Triton Router Plunge Spring
Jul 13, 2007
Episode 04 Triton Router Plunge Spring
The Triton Router is an excellent machine, very powerful with lots of innovative features built-in.
Table mounting is this router’s forte, and some features are built into this router to optimise using it in table mode. A plunge router uses a spring to counteract gravity when using the router handheld. When the router is inverted into the table, you don’t need the spring combining with gravity to make the job any harder. The Triton router is designed to make spring removal and replacement an easy task, and this video documents the few quick steps required.
Episode 03 Scrollsaw Dinosaur
Jul 11, 2007
Episode 03 Scrollsaw Dinosaur
Scrollsaws are often used to produce very incricate pieces, but a cheap one is perfectly good for making some really cool kids’ toys.
Episode 02 Bandsaw Blade Folding
Jul 01, 2007
Episode 02 Bandsaw Blade Folding
When you purchase a bandsaw blade, it comes in a neat coil which takes up little space, and is easy to store. However, once the blade is used, getting it back to that initial condition can be quite daunting.
Once you have seen it done, you will be surprised just how easy it is. I have seen other techniques, which include pushing the blade into a wall, and so I offer here what I feel is a much easier technique, at least for blades up to 1″ in width.
I don’t go into any five-ring techniques – my blades are not long enough (14″ bandsaw) to either do this easily, or justify it, and for the majority of bandsaw owners (from the smallest up to the 16″ models, the three-ring techniques are perfectly adequate.
The video includes folding up blades from 1/8″ to 3/4″
Episode 01 3D Router Carver
Jun 24, 2007
Episode 01 3D Router Carver
The 3D Router Carver produces stylish designs using a handheld router, with dedicated templates and a uniquely designed router bit.
 Stay Connected


 Drill is the
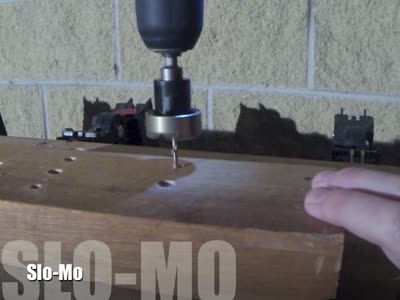


![▶ SSYTC010 The Blowfly – YouTube [360p]](https://videos.files.wordpress.com/NQQ55F5a/e296b6-ssytc010-the-blowfly-youtube-360p_std.original.jpg)
![▶ SSYTC009 Rockwell JawHorse – YouTube [360p]](https://videos.files.wordpress.com/93SW3Yhm/e296b6-ssytc009-rockwell-jawhorse-youtube-360p1_std.original.jpg)